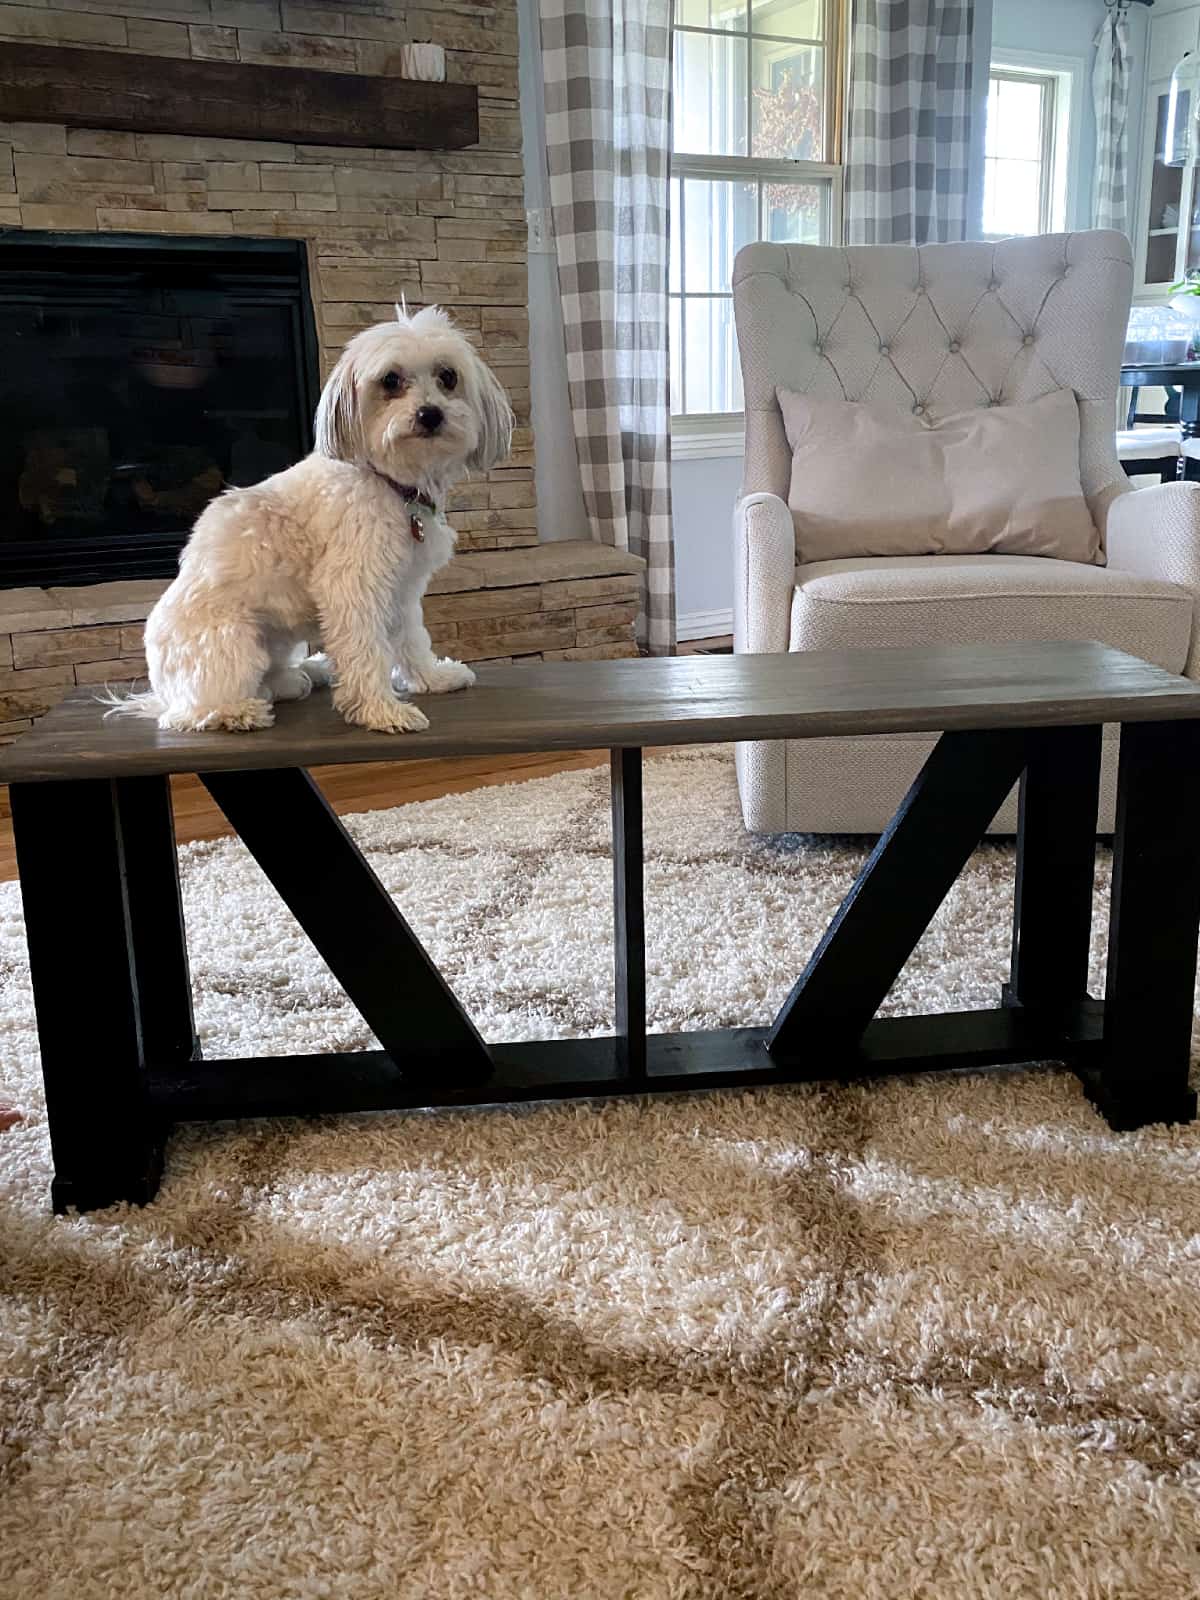
This easy homemade farmhouse bench is as beautiful as it is functional. I used the cheapest lumber available, paint that didn’t require primer, and materials that I already had on hand to make a cheap, sturdy, comfortable, functional, and yet beautiful bench.

[Missouri Girl is a participant in the Amazon Services LLC Associates Program, an affiliate advertising program designed to provide a means for sites to earn advertising fees by advertising and linking to Amazon.com].
This homemade bench serves a duel purpose:
- extra seating
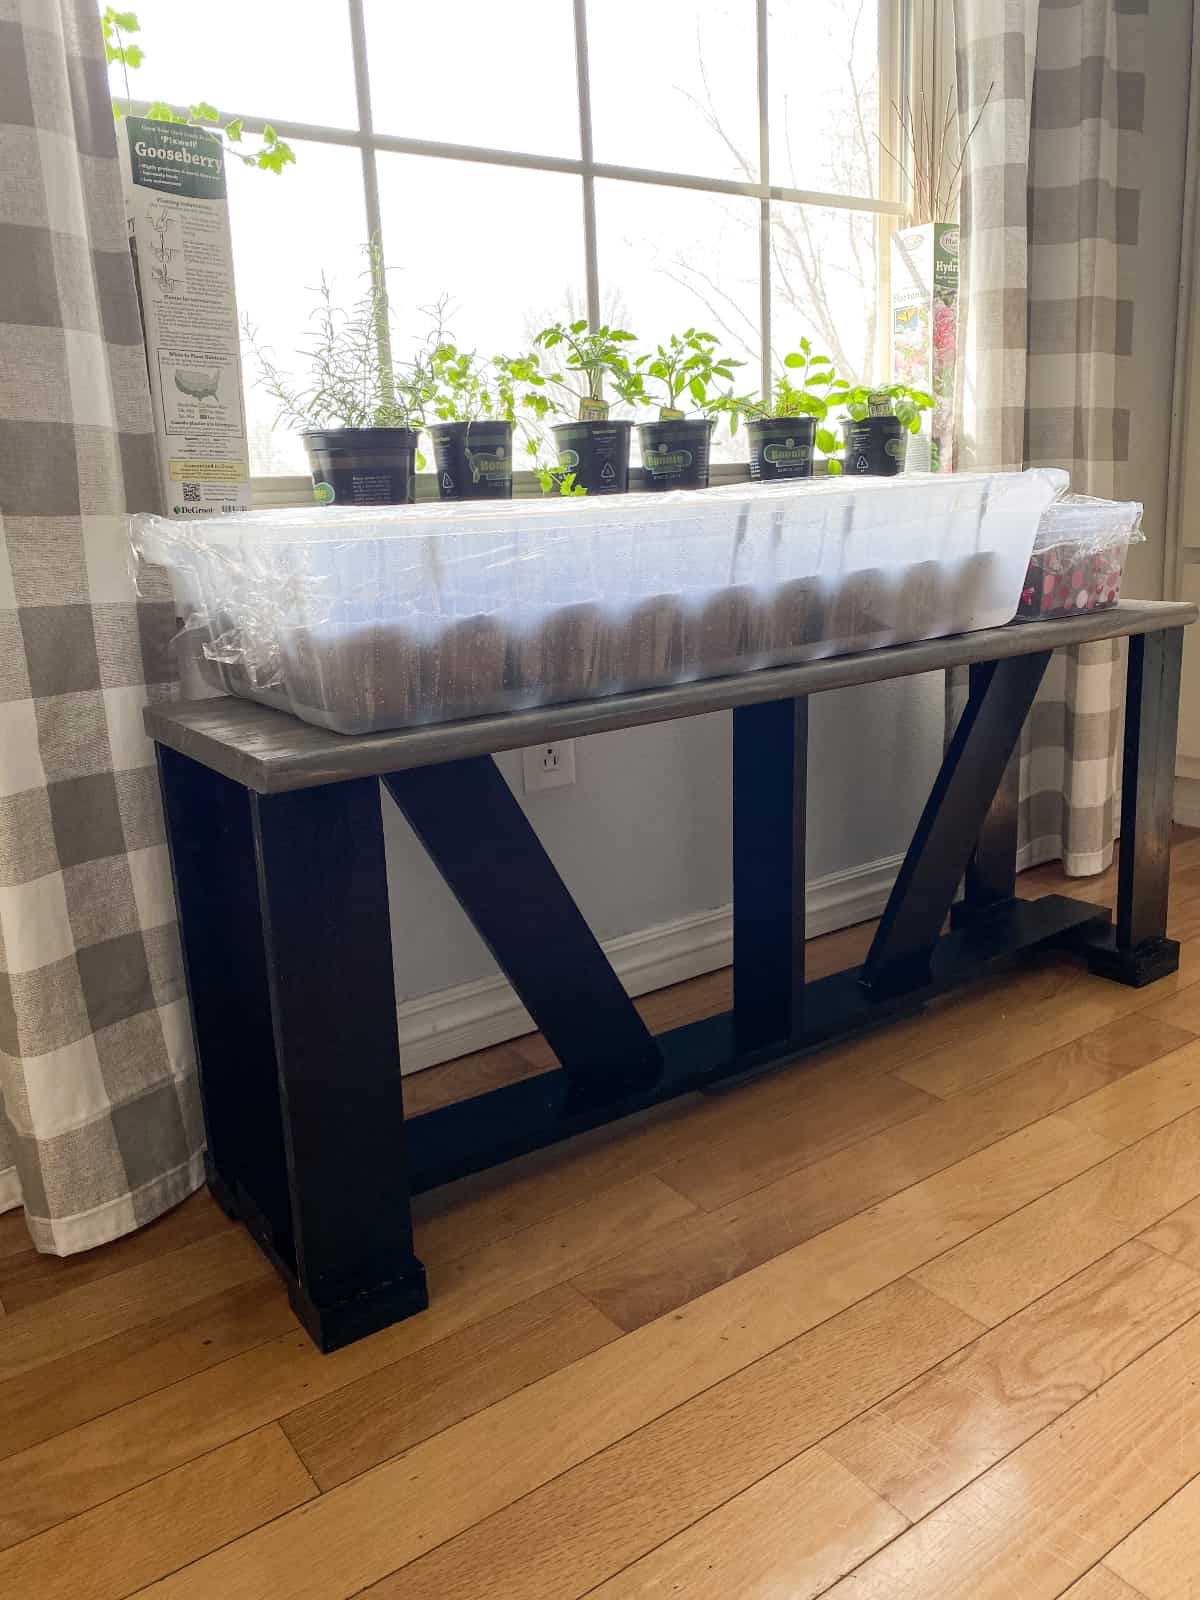
- a place to set my plants and seed starters in front of our breakfast room window.
I got the design idea from a dining room table I saw on Pinterest. The design was easily modified from a table into a bench. The top of the bench was finished in a beautiful weathered grey and the base in a durable semi gloss black.
The bench also looks custom made as it matches our breakfast table that we recently refinished.
Equipment and materials needed
[Affiliate links to follow]
- miter saw
- wood glue ( I used Titebond II Premium Wood Glue)
- paint ( I used Krylon Colormaxx Acrylic Latex Pain in Gloss Black)
- stain (I used Minwax Wood Finish Solid Color Stain in Classic Gray)
- lacquer (I used Minwax Clear Brushing Lacquer in Clear Gloss)
- Kreg jig
- Kreg screws (I used 1 ¼ inch for ¾ inch boards- coarse thread for softwood such as pine)
- lumber
- unfinished 48 inch stair tread

The cut list:
If you can’t find a relatively straight 14 ft pine board then buy enough smaller 1 X 4 boards to equal 14 feet. Look at the cut list below to determine the specific size.
- one 14 ft standard pine board cut into the following pieces:
- Two 15 inch boards
- One 11 inch board
- Two 20 inch boards (for the decorative diagonal boards)
- One 45 inch board to match the length of the bench
- Four 3.5 inch pieces
- 11 inch x 48 inch stair tread for the bench top
What makes the best seat for a bench? Use a stair tread with a rounded edge for a comfortable and affordable bench top
I used a stair tread for the bench top for multiple reasons:
- Cost (aka cheap)
- The surface is smooth and requires minimal sanding.
- It has a nice rounded edge that would be comfortable to sit on.
How to make a sturdy bench
There are two main factors to improve the structure of the bench:
- The design
- The joints
To create sturdy joints I always use a Kreg pocket hole jig and Kreg screws. With LOTS of wood glue.

The cost to build this cheap and easy homemade farmhouse bench
- 14 ft pine board: $7.00
- 11 inch x 48 inch stair tread for the bench top: $10.00
- Kreg screws: $5.00 for a box/under $1.00 for 16 screws
- wood glue: $3.00 for small bottle/$0.50 for amount used
- paint: $11.00 for the can/$2.00 for amount used
- stain:$14 for can/$1.00 for amount used
- lacquer: $17 for can/$2.00 for amount used
Cost for me to build this homemade farmhouse bench: $10.00 (I had almost all of the materials)
Cost in lumber: $17.00
Adjusted cost of the amount of materials used: $23.00
Total cost if buying all materials: $67.00
This bench can be customized to use paint, stain, and topcoat that you already have on hand to decrease costs.
The steps to make an easy homemade farmhouse bench
TO SEE MY YOUTUBE VIDEO ON HOW TO BUILD THIS EASY FARMHOUSE BENCH CLICK HERE
Pick your design
The first rule to any build: always have a plan. A lot of time and money will be saved with a solid plan in place. In this case I had an image of a dining room table I used as inspiration and then it was a matter of figuring out the right dimensions to make it into a bench.
I measured the seat height of our breakfast room chairs to give me the right height: 18 inches. The width was determined based on the space. It is a tight fit between the window and the table so it needed to be wide enough to comfortably sit on but not too wide: 11 inches.
Buy the materials and tools
I was lucky enough to already have almost all of the materials on hand from previous projects. A quick look through my wood pile confirmed I had the right size lumber. The base of the bench was built with 1X4 standard pine boards which are very economical. These boards are cheap but that comes with some potential drawbacks. The boards are rarely perfectly straight and have a bit more character than premium boards. I don’t mind and I’m always super careful as I’m searching through the wood at the hardware store…there are gems hidden in those piles if you search.
Here is my lumber pile on my mobile workbench. Please ignore the mess.

You can finish the bench however you want. I chose to use materials that I already had: a glossy black paint for the base, a weathered grey stain for the top, and a lacquer protective coat as it is durable. Feel free to use whatever finish you want.
Note: I chose not to prime the base as I used a paint that didn’t require a primer. Plus I love rustic finishes and don’t mind if it gets roughed up. If you want a perfect finish you might want to consider using a primer.
Cut the lumber to size
I knew what size boards I would need with the exception of the diagonal boards. Those can be tricky to cut perfectly ahead of time. I assembled the bench first and then slowly trimmed the diagonal boards down to size to fit perfectly.
Paint, stain, assemble the bench
Do you paint everything first and then assemble or vice versa? I’m personally a fan of painting first but either way is fine.


Enjoy what you created
Now I have the perfect place to grow seedlings in front of my sunny window as well as extra seating for guests. I LOVE this bench and so do my plants!

Love this bench and want to see some a few more Farmhouse furniture ideas? Here are a few more past Missouri Girl Home Farmhouse furniture ideas.


Leave a Reply