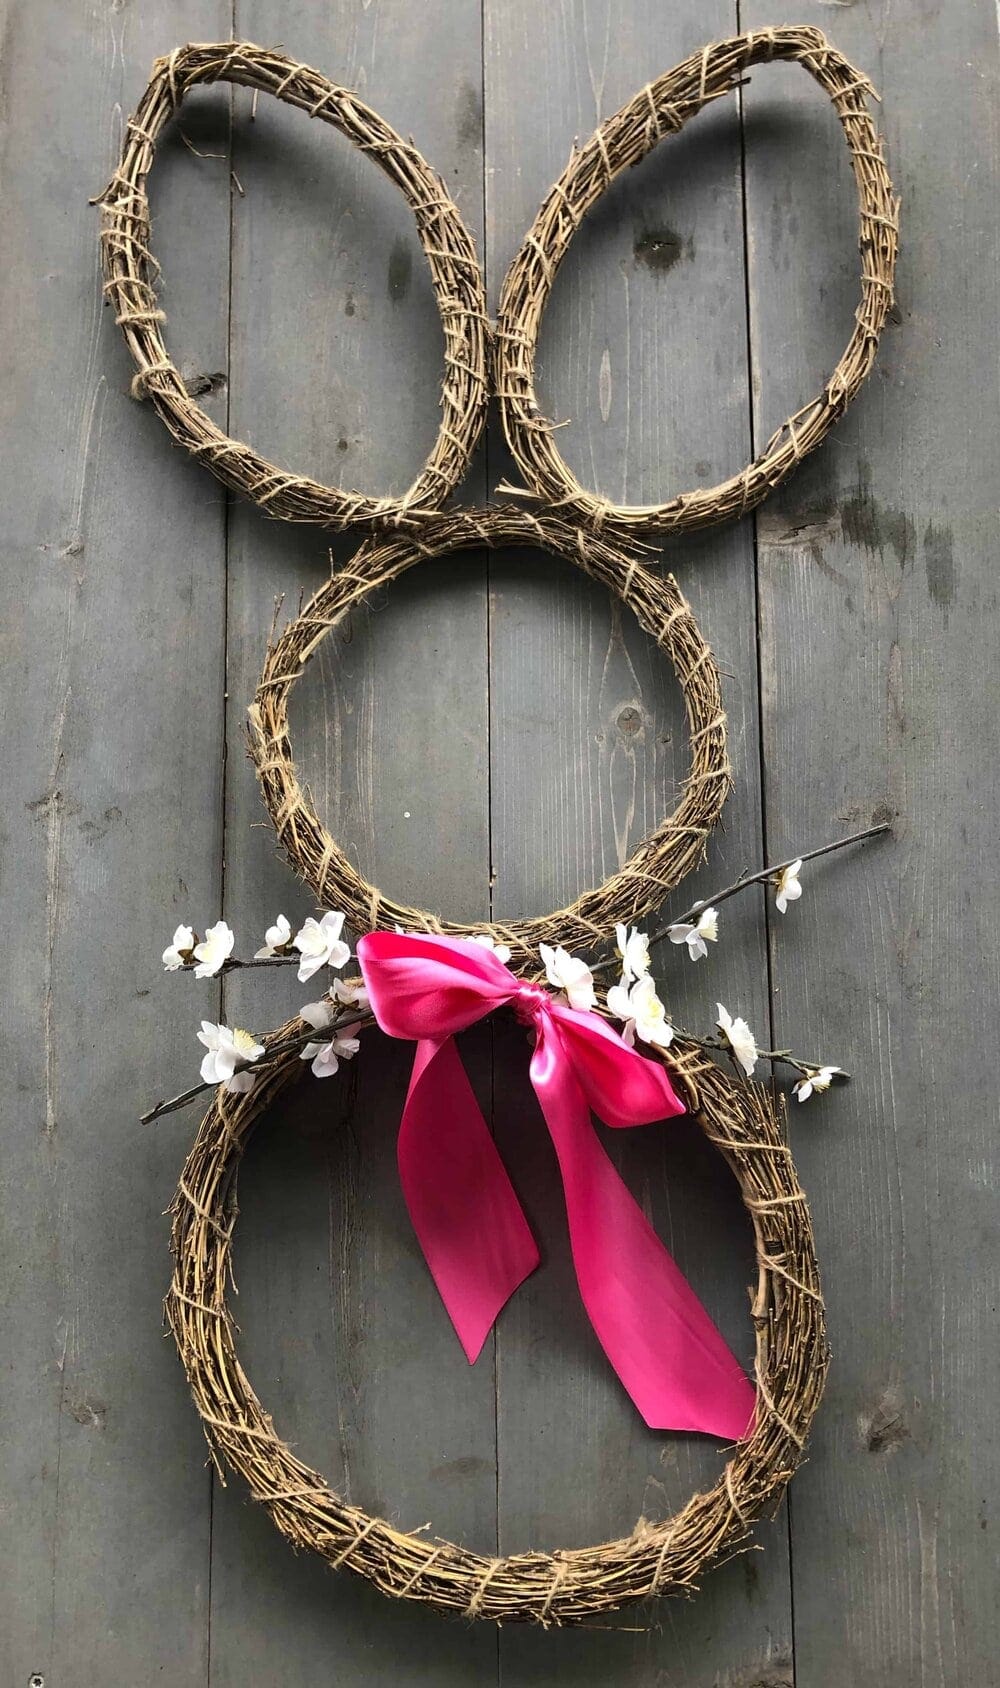
Learn how to make this easy diy Easter bunny wreath for just $6 using a few Dollar Tree finds and common crafting items.
You may even have a few of these items laying around your house which will make this budget friendly grapevine Easter bunny wreath even more economical.
Oh Spring, how I have missed you!
The birds are singing their morning songs, the daffodils are up and the trees are blooming. Sigh.
I’m especially grateful for Spring this year as we are all experiencing more time at home due to the coronavirus.
So my motto right now is get outside, work in the garden, exercise, get caught up on DIY projects, and immerse myself in Spring cheer.
Not only is Spring here but Easter is just around the corner.
Hard to believe, I know.
The Easter decor came out as soon as the Valentine’s stuff came down.
Yes, 2 months of Easter in the Missouri Girl house. This Dollar Tree Easter Centerpiece is one of my easiest Easter diy projects to date.

About a month ago I was shopping at the Dollar Tree, when I came across some grapevine wreaths. They had 2 different sizes and I knew they would make the perfect bunny wreath.
I made a bunny wreath several years ago and I just love it.
What I didn’t love was the price. Those grapevine wreaths are pricey! So these $1 wreaths are a steal.

Supplies needed
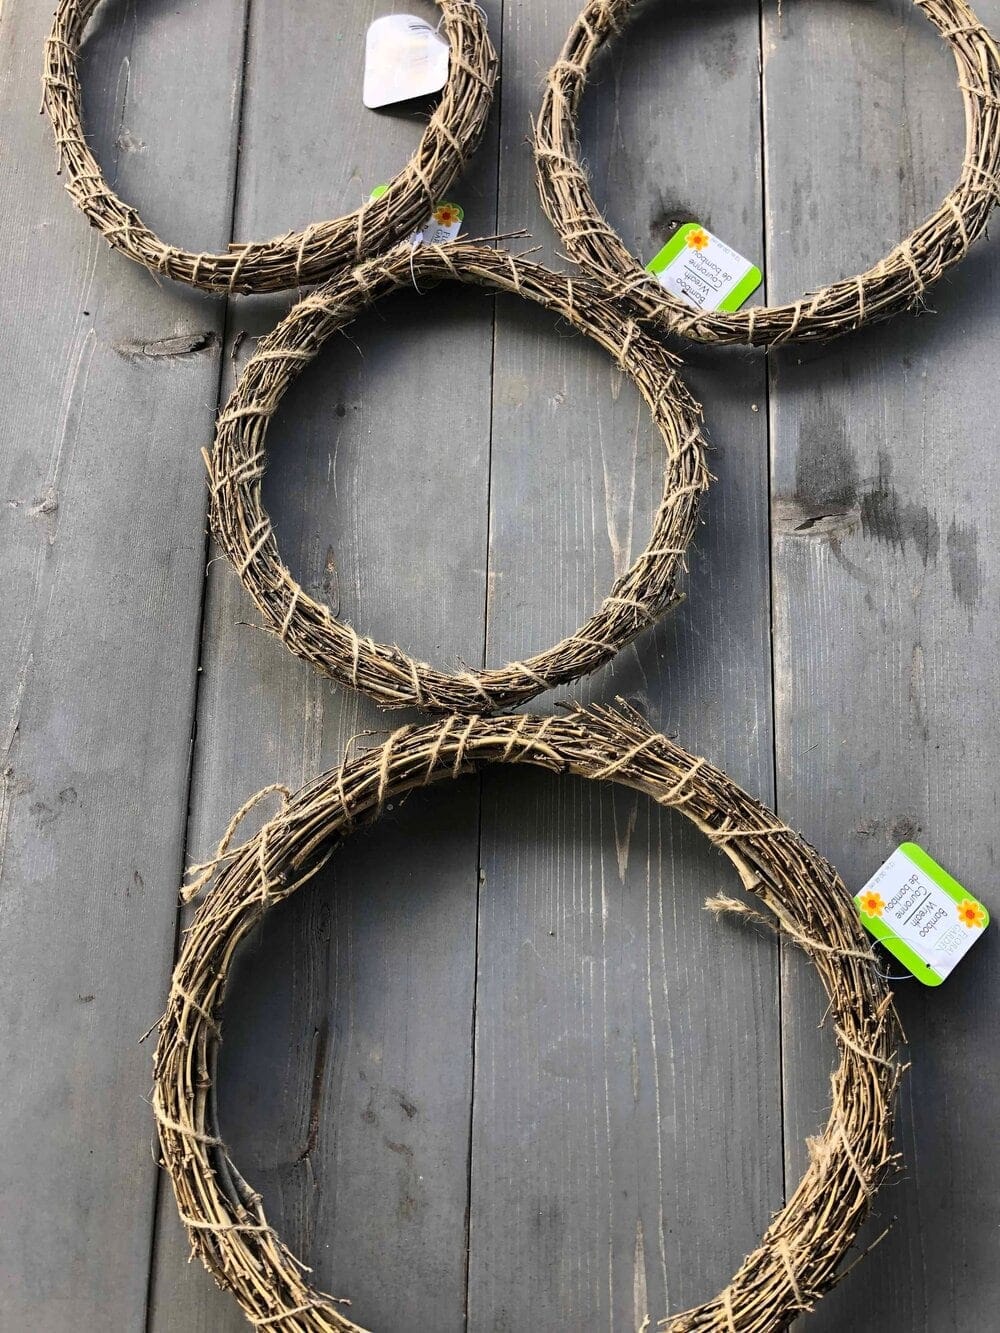
For this project you will need 4 grapevine wreaths, 3 small and 1 large.
The diameter of these wreaths are 9.5 inches and 12 inches but use whatever size you want that is scaled appropriately. You will also need ribbon, flowers, and zip ties/ twine/flexible metal wire for fastening the grapevine wreaths together and for attaching the flowers and ribbon. All of these items can also be found for just $1 at the Dollar Tree at various times of the year.
How to assemble the wreath
First, you make the ears. You will need to use a little elbow grease to make these bunny ears. Push inward on both sides of the wreath until it resembled bunny ears. Some snapping of the grapevine twigs are required to maintain the shape so don’t be gentle.
Consider it an arm workout.

Next, connect the bunny head to the body (one large wreath and one small wreath) using zip ties or fastener of choice. I happen to have a bunch of old zip ties so that’s what I used, but feel free to use what ever you have around the house. Make sure you attach them using the backside of the wreath so they stay hidden.


Then connect each bunny ear to the head using 2 zip ties. Next, I used one more zip tie to connect the ears together, otherwise they were a bit too floppy. Finally, flip the wreath over and add a ribbon and some flowers (again using zip tie, twine, wire, etc) to dress the bunny up a bit.
Diy Easter Bunny Wreath for just $6
Isn’t this wreath adorable?!?!
And for only $6!
I don’t think I have ever seen a wreath this large for that cheap.

Looking for something a little more substantial and ornate?
This is the wreath I made several years ago.
The same process was involved but I used larger (and pricier) grapevine wreaths and outlined the wreath in tiny little flowers.
Happy Easter!


Leave a Reply