This quick and easy no bake peanut butter cheesecake pie is the ultimate stress free dessert.
I needed to come up with an easy recipe that could be whipped up in a hurry for a co-workers birthday. His request? Anything chocolate and peanut butter.
Two of my favorite things as well.
Add a little cream cheese into the mix and you have a guaranteed crowd pleaser.
Keep this recipe handy because friends and family will be asking for it!
Here are just a few of the reasons I love this dessert so much:
It’s a no-bake dessert
This dessert requires no baking which makes it the perfect choice for those hot summer days or if you don’t want to mess with turning the oven on.
Takes under 15 minutes to make
No-bake desserts generally come together quickly but can take some time to eat as they require chill time prior to eating. Though this chocolate peanut butter pie is fantastic cold, it can also be eaten right after it’s assembled.
One recipe makes 2 pies and feeds a crowd
Though the recipe listed is for one VERY large pie, it can actually be divided to make TWO pies. I bought a set of 10 “disposable” pie tins that are perfect for making regular size pies, perfect for dividing this recipe and making two pies.
The quality of the the tin pie plates were actually very good so I have reused them several times. So eat one for now, and safe one for later. Or make them both and feed a crowd.
It can be made be made ahead of time making it the perfect choice for parties.
Keep reading to see how this versatile dessert can be well in advance of any social gathering.
It stores well in the refrigerator
This chocolate and peanut butter pie can be made days in a advance and kept in the refrigerator until you are ready to use it. I kept mine in the refrigerator for 5 days and it was every bit as good as it was on day one.
Can be frozen
The great thing about a recipe that makes 2 pies is you can eat one now and freeze one for later. Just place it in the freezer (in a freezer safe pie plate) and let it freeze for about 3 hours. Then take it out, wrap it in freezer wrap and place it back in the freezer until you need it. I recommend freezing for less than three months. When you are ready to eat it, just place it in the refrigerator over night to thaw.
How to make a no back chocolate peanut butter cheesecake pie
The steps to this pie are minimal and quick. First, combine the crushed oreo crumbs and butter and then press into a pie plate.
Next, make your filling by mixing together all of the filling ingredients and add to the pie.

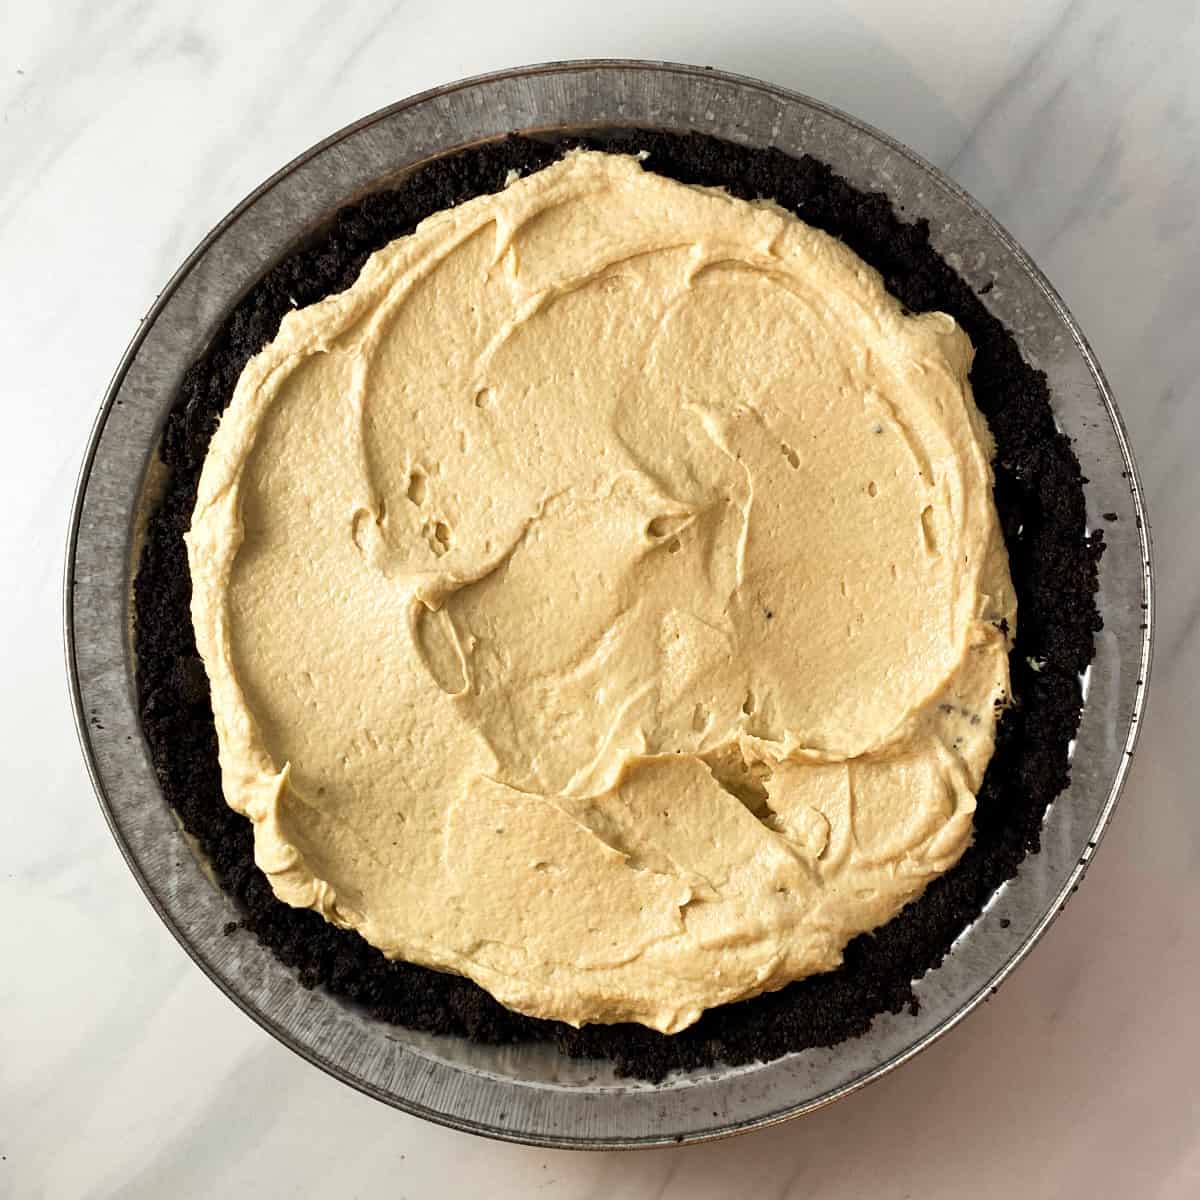
Spread the filling evenly over the oreo crust.
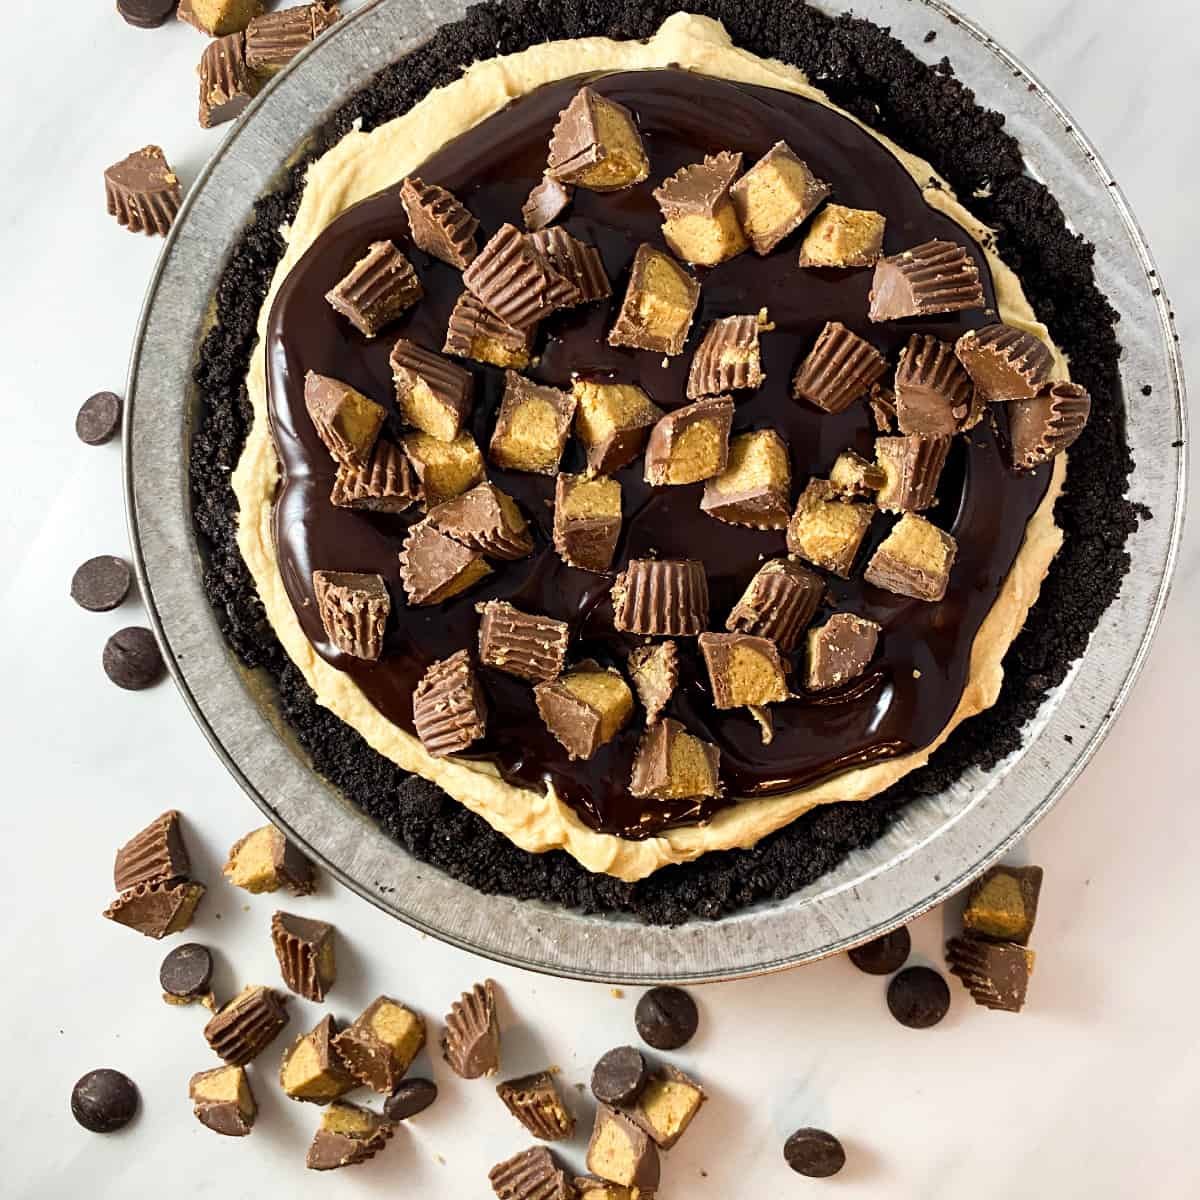
Finally pour the cooled chocolate fudge ganache over the top and sprinkle with chopped peanut butter cups.
So quick, so easy, and so good!
I hope by now I’ve convinced you that this will be one of the easiest and best desserts you have ever made. So go give it a try and let me know what you think!
Enjoy!

No Bake Chocolate Peanut Butter Cheesecake Pie
Ingredients
Oreo Crust:
- 1 package (36) Oreos
- 6 tablespoon butter melted
Peanut Butter Cream Cheese Filling:
- 8 oz cream cheese softened
- 1 cup creamy peanut butter
- 1 container cool whip
- ½ teaspoon pure vanilla extract
Chocolate Ganache:
- 1 ½ cups chocolate chips (I used semisweet)
- ½ cup heavy cream
Toppings:
- 1 7.6 oz bag mini reese’s peanut butter cups
Instructions
Make the chocolate ganache:
- In a small microwave safe bowl, add the chocolate chips and cream.
- Microwave on high for about 1 minute or until the cream is just warm enough to melt the chocolate.
- Stir until chocolate chips are completely melted and the ganache is smooth.
- Set aside.
Make the oreo crust:
- Pulse the oreos in a food processor until fine crumbs form (or place in a ziplock bag and crush).
- Transfer to a medium bowl.
- Add the melted butter and stir well.
- Press the oreo mixture into the bottom and up the sides of a deep dish pie pan.
Make the peanut butter filling:
- In a medium bowl beat the peanut butter, cream cheese, vanilla, and cool whip on medium speed with a hand held mixer until light and fluffy.
- Spread evenly over the oreo crust.
Finishing touches:
- Pour the ganache over the top of the peanut butter filling and spread evenly.
- Cut each mini peanut butter cup into fourths (or throw them in the food processor and give a few pulses).
- Sprinkle over top of the ganache.
Leave a Reply