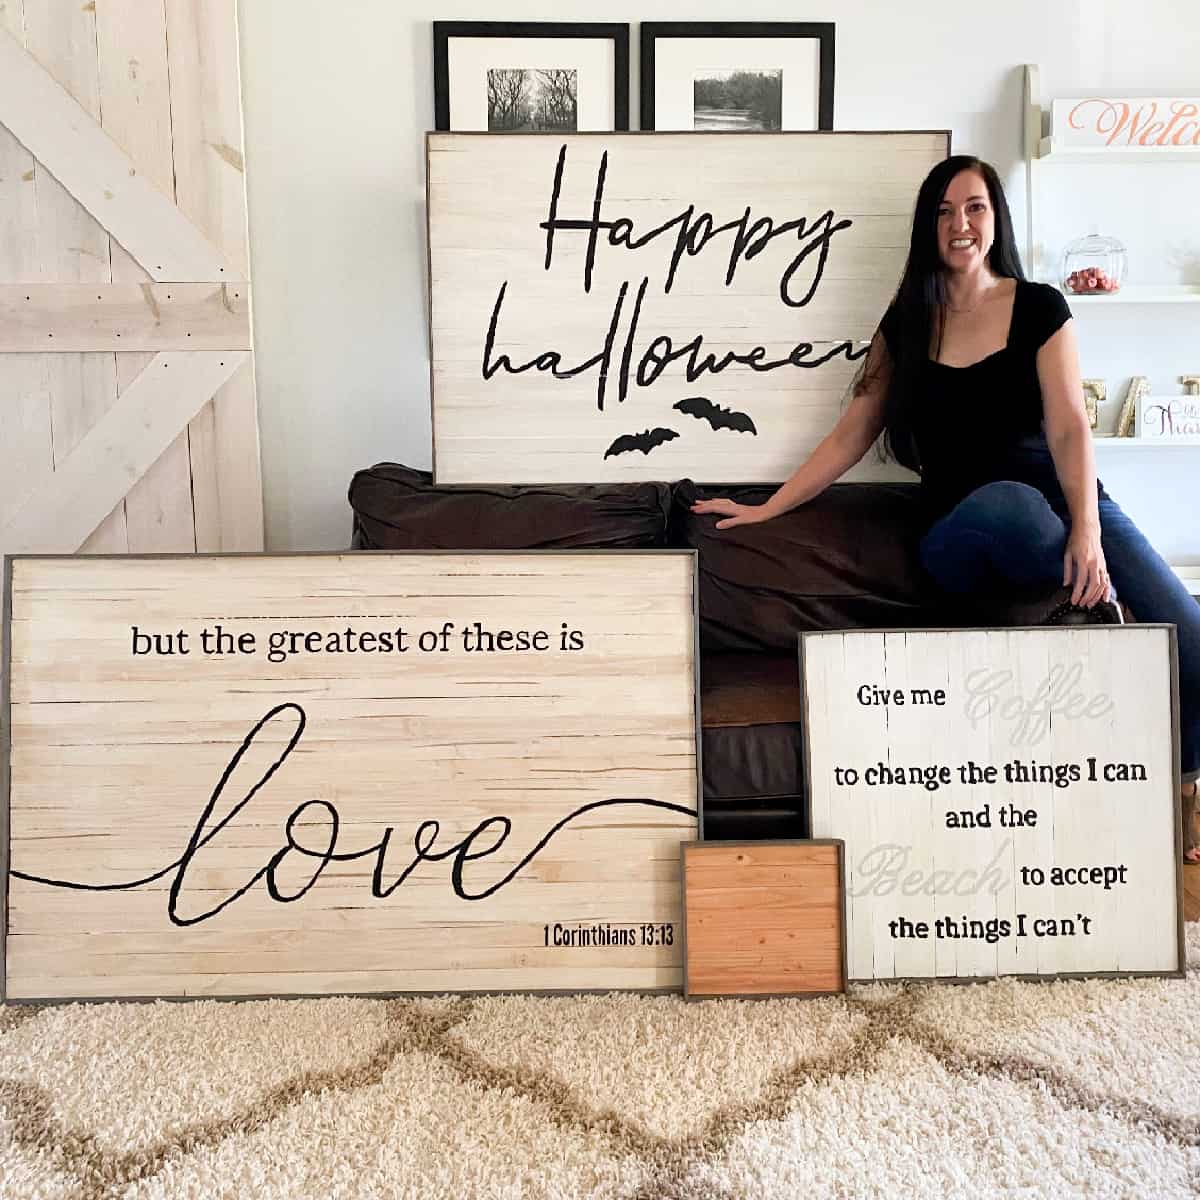
This detailed tutorial shows you how to make an inexpensive reversible farmhouse style wood sign. It is cheap, easy, rustic, and you get two HUGE DIY wood signs for the price of one. This just might be my favorite budget DIY project to date!
Large signs with seasonal content or inspiration sayings can be very expensive. Especially the popular Farmhouse style signs. They are frequently found in home decor stores for $50+ apiece. I have even seen them as high as $200. That is just crazy!
So I set out to create an easy homemade wood sign that uses inexpensive supplies and materials. The cost of EIGHT (four reversible) signs comes in at just $18 in lumber. Seems too good to be true, right?
The secret is in the materials.
Jump to:
- Supplies for how to make reversible inexpensive DIY signs
- Equipment needed
- Wood lath for making cheap wood signs
- Steps for making a DIY reversible wood sign
- Tips for success when making your own wood signs
- How to add lettering and designs to wood signs
- Christmas Reversible DIY Wood Sign
- Reversible DIY Fall Sign
- Halloween Reversible DIY Wood Sign
- DIY Valentines Day Wood Sign
- DIY Beach Themed Wood Sign
- Frequently asked questions
- How To Make A DIY Wood Sign [Reversible, Cheap, and Easy]
Supplies for how to make reversible inexpensive DIY signs
- Pack of wood lath
- Wood glue
- paint or stain
- paint brush
- wood clamps or painters tape
- command strips (optional)
- scrap pieces of ½ inch thick lumber (optional)
Equipment needed
- Miter saw or miter box with saw
- Projector, Cricut, stencil, or something to make letters or designs on your signs (optional if you are artistic and can just free hand it)
Wood lath for making cheap wood signs
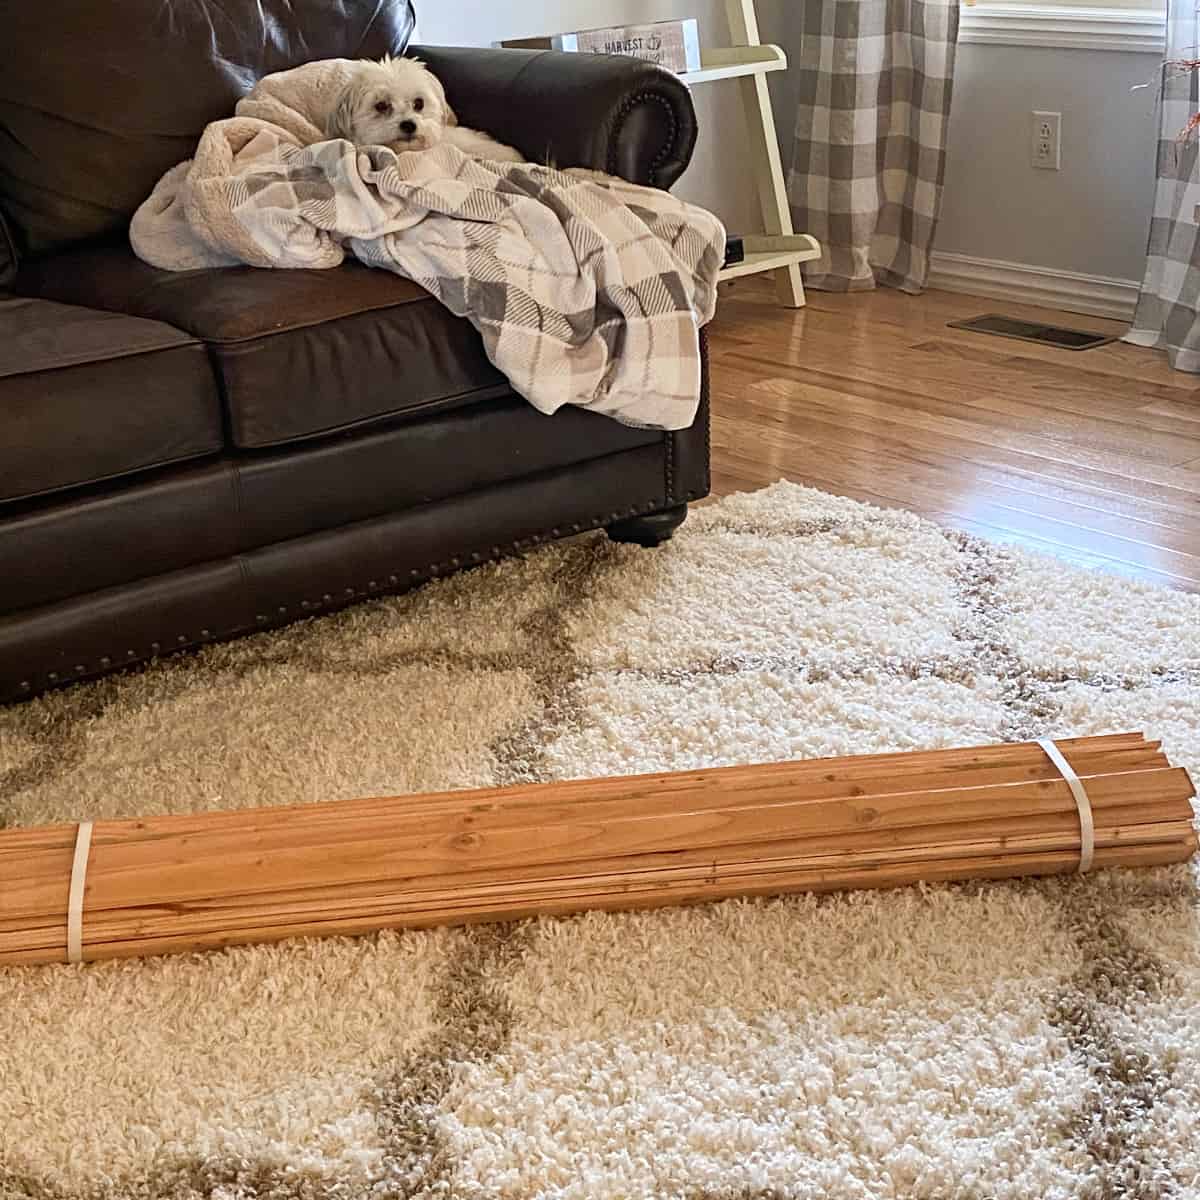
Wood lath are thin pieces of wood that are ¼ inch thick that can be bought at varying lengths. The cheapest I have found wood lath for is $17.48 for a 50-Count pack at Lowes. Each piece measures ¼ inch x 1 ½ inch x 4 ft.
This stuff is gold!
Since it is sold in 4 ft lengths that means you can make a sign up to 4 feet in width or height.
You can also buy individual pieces of wood lath at longer lengths.
Pro tip: when you purchase a 50-count pack of wood lath, it is important to know that about half of the wood lath pieces will be fairly warped and better for smaller projects. I always sort my wood lath pieces into 2 piles: warped and straight. The straight pieces are used for larger signs and the warped pieces are cut down for smaller signs.
I was able to make four reversible DIY signs of varying sizes out of one pack of wood lath. The approximate sizes were:
- one 4 x 2.5 ft sign
- one 2 x 2 ft sign
- one 1.5 x 1.5 ft sign
- one 1 x 1 ft sign
Steps for making a DIY reversible wood sign
- Decide the size of your sign.
- Plan your design. Do you want the lath to run horizontal or vertically? What color do you want your signs to be? Are you using paint, stain, or leaving the wood natural? What design do you want on your signs and what supplies are needed to accomplish this look?
- Pick the straightest wood lathe pieces for large signs and for the frame pieces. On average, about half of the lath wood pieces in a 50 pack bundle will be warped. I reserve the more warped pieces for smaller signs as smaller signs are more forgiving.
- Cut the wood lath pieces to desired length.
- On a protected surface, glue each wood lath piece together. Make sure to work on a surface that can get glue on it. Work in small sections for larger signs or just glue all of the wood pieces together for smaller signs. For larger signs it is helpful to use painters tape to hold the pieces together until dry.
- Allow the glue to dry completely.
- Sand the access glue off the boards before painting or staining.
- Paint, whitewash, or stain one side of the wood lath board.
- Allow to dry.
- Paint, whitewash, or stain the opposite side of the wood lath board.
- Allow to dry.
- Cut your wood lath frame pieces to size using approximately a 45 angle cut (see video).
- Paint, whitewash, or stain the frame pieces.
- Allow to dry.
- Attach the frame around the edges of the wood lath board with wood glue, making sure there is about ½ inch of frame on each side of the board (see video). I like to use a few ½ inch boards or stack two pieces of scrape lath stacked to equal about ½ inch. Use LOTS of wood glue. Don’t stress if the framing appears uneven. It is virtually unnoticeable when the sign is hung up. Secure the frame with clamps or painters tape until dry. You can also add some brad nails for additional strength but I rarely do this as it is hard to get the brads into the thin wood lath and the wood glue (you will see an example of this at the very top of the picture below).
- Wipe off access wood glue and allow the glue to dry.
- Sand off and access glue and touch up paint , whitewash, or stain if needed.
- Decorate your sign.
Tips for success when making your own wood signs
- Cut each piece of lath to desired length. Even though the length is advertised as 4 ft, every piece is a little different in size so don’t skip this step if you are wanting a 4 ft sign.
- Use wood glue that dries clear and is paintable.
- Reserve the straightest pieces of wood lath for the frame and for larger signs.
- For larger signs, pick through the wood lath bundles for the straightest pieces.
- Build your larger signs first. I like to make different size signs for different locations in my house. It is important to make the larger signs first as they need the straightest pieces of wood lath.
- Realize that these are rustic signs and there will be some gaps and inconsistencies. This just adds character and adds to the rustic charm.
- If you are worried about the sign holding up over time then you may want to reinforce the frame to the interior wood lath boards with braid nails. I have had my large sign for over a year with just wood glue without issue but if you are concerned then use the brad nails. Just know those pieces of wood lath are VERY thin and it’s difficult to shoot the braid nails straight into the middle of the boards. I messed up. I got frustrated trying and just went with wood glue without any issue.
- For larger signs, glue the wood lath in small sections, allow each section to dry, and then attach the sections. This step is less important when making small signs.
- Allow the glue to dry completely before handling the boards.
- Sand excess glue off of the boards before painting, staining, or whitewashing. Note: there may be glue droplets that dries in the cracks. If this bothers you then you may want to clean up the cracks before the glue dries.
- Use scrap ½ inch wood boards when framing to ensure there is about ½ inch of framing on each side of the glued wood lath. This is how we create the reversible sign. If this is confusing then check out the video which takes you step by step through the process.
- Wood lath has a lot of movement and bowing so it is not uncommon for sign to pull away from the wall in some places when hung. Just place a few pieces of command strips behind the sign to help secure all pieces to the wall.
- The paint may bleed through the cracks to the other side so you may want to consider painting each side the same color, otherwise just be very careful as you are applying the paint/whitewash/stain.
How to add lettering and designs to wood signs
There are many ways to decorate your reversible wood sign. My favorite way of creating a design is to use Canva. Canva is a design app that allows you to create your own designs using it’s built in fonts and effects. Some fonts come free and some require paying for their upgraded Pro. I currently have the free version and LOVE it.
I then use a projector with an iPhone adapter to easily project the image onto the sign to trace.
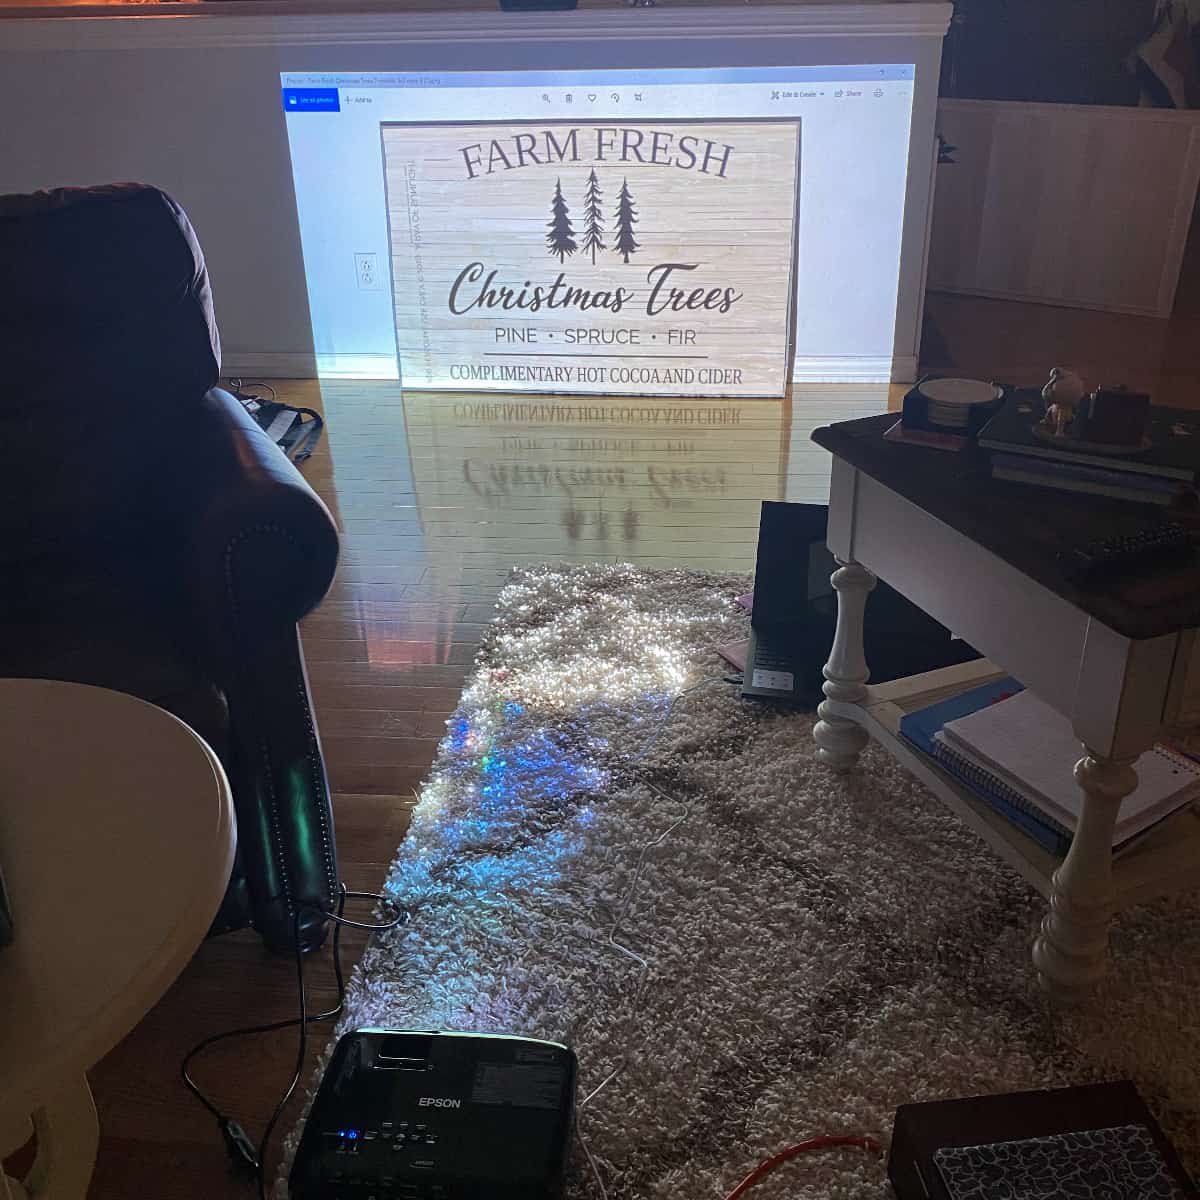
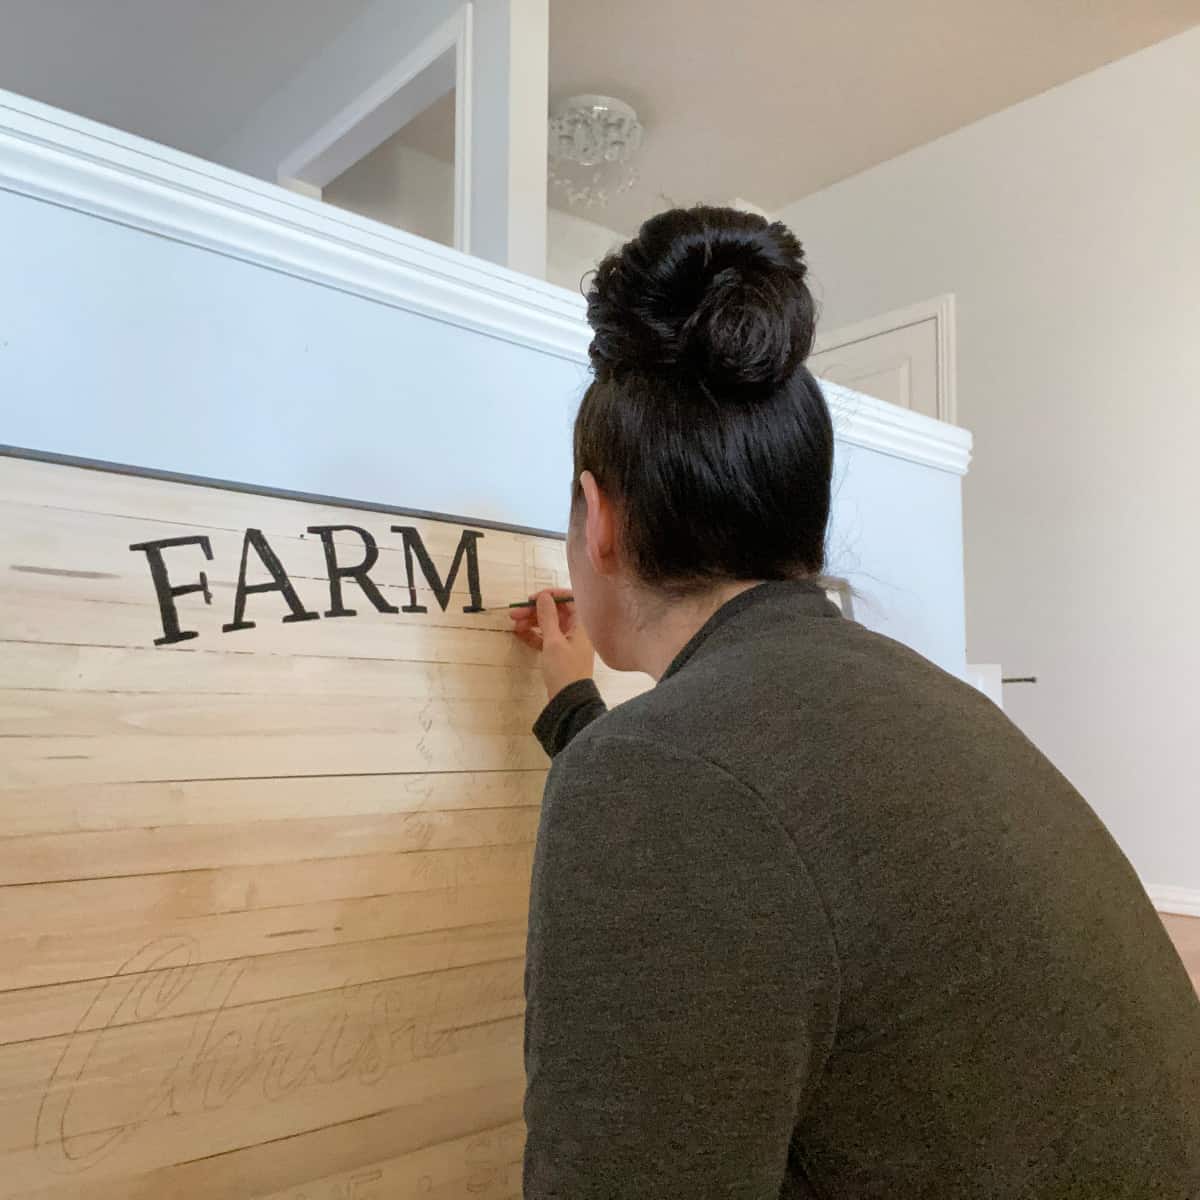
If you don’t have a projector then you can borrow one, use a stencil, or a Cricut to create designs. Or just be creative and free hand it. Unfortunately this last option is not for me as I can barely draw a stick figure.
I attempted to draw a pumpkin for one of my Autumn themed signs. Unfortunately, the result looked nothing like a pumpkin so I got creative and cut a pumpkin out of craft paper. I love it!
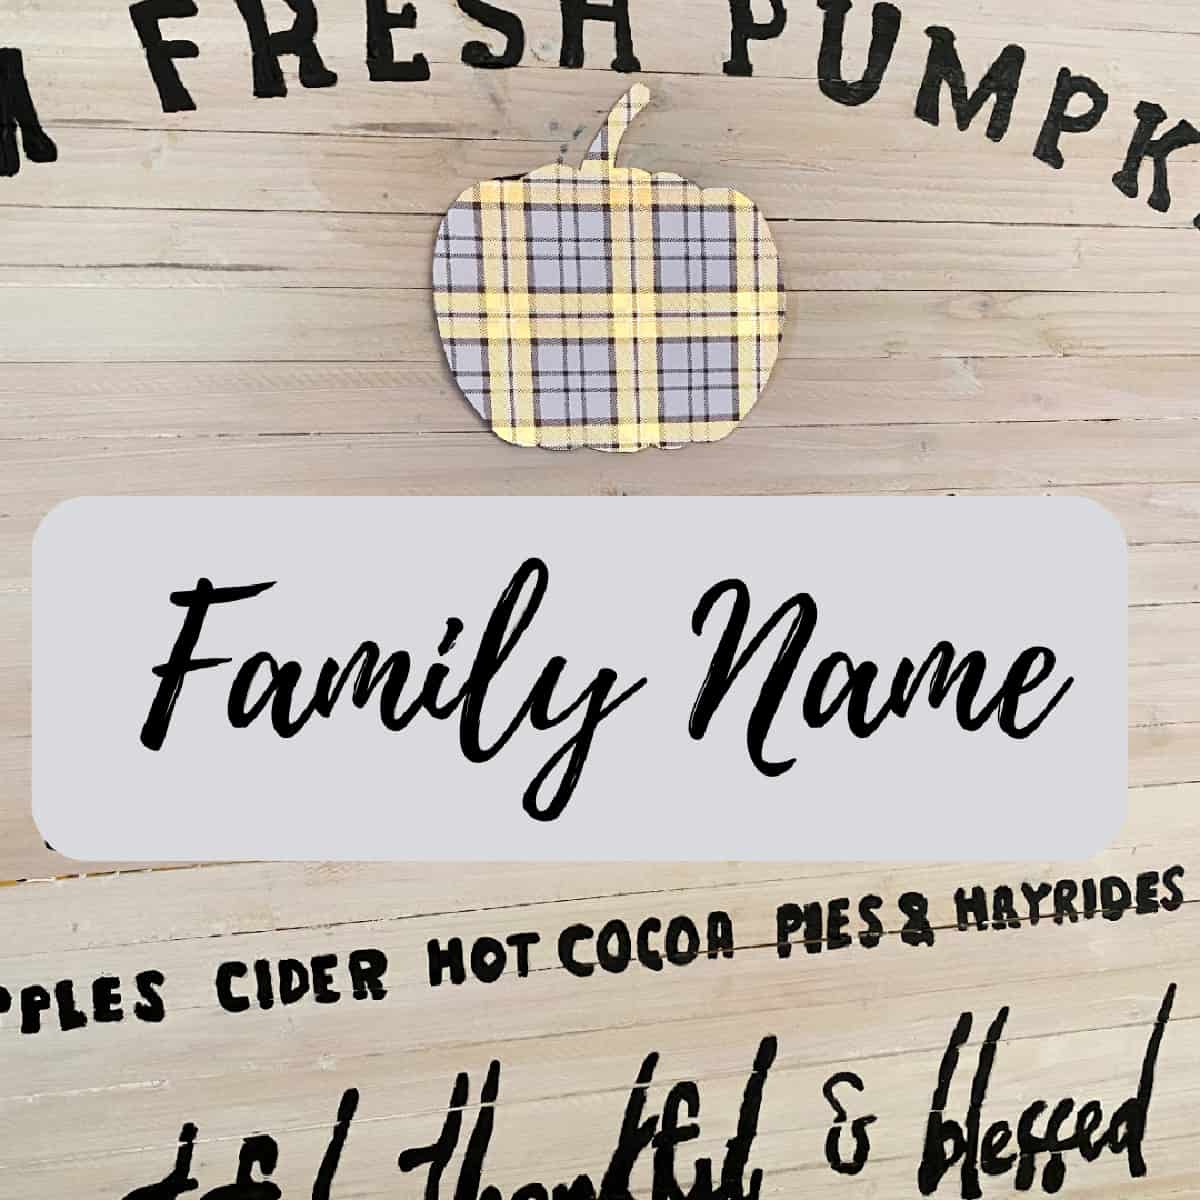
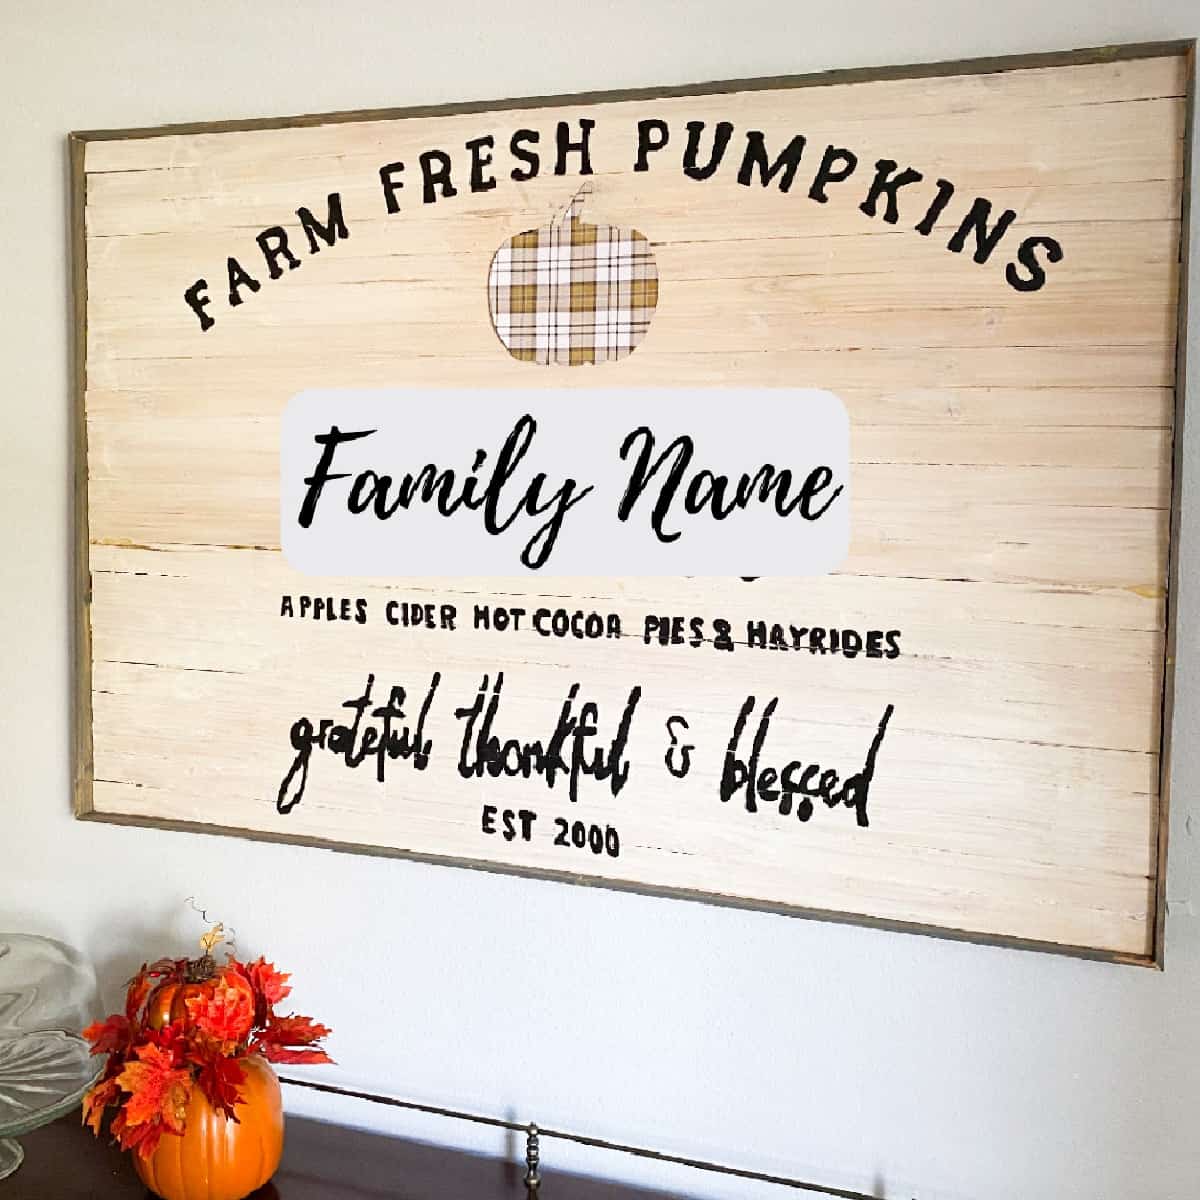
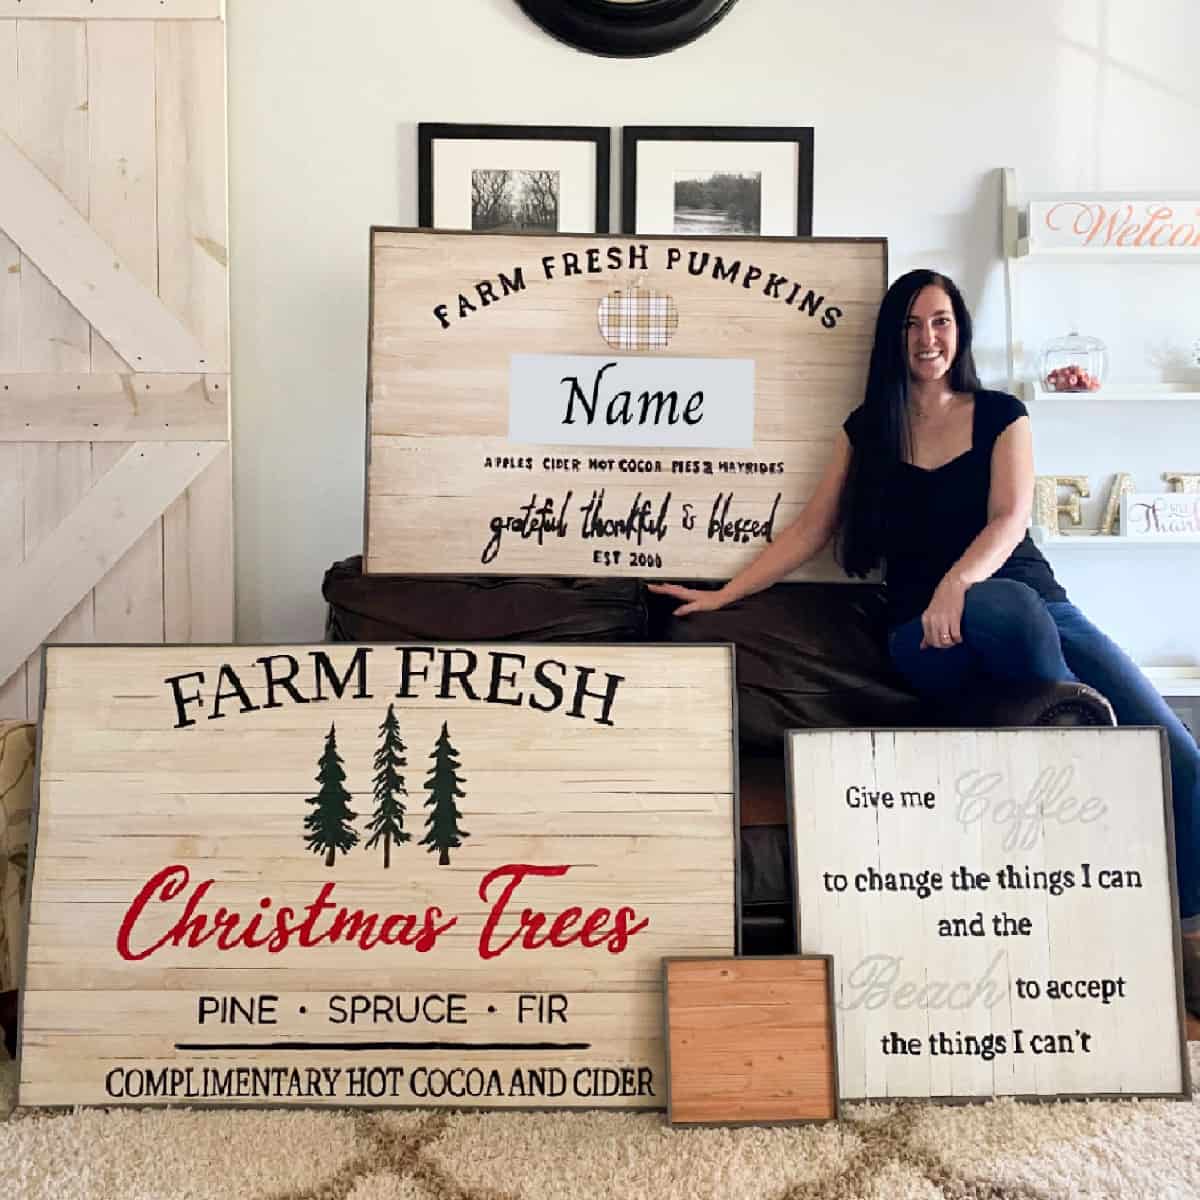
Here are a few more examples of signs I have made.
Christmas Reversible DIY Wood Sign

Reversible DIY Fall Sign
Halloween Reversible DIY Wood Sign
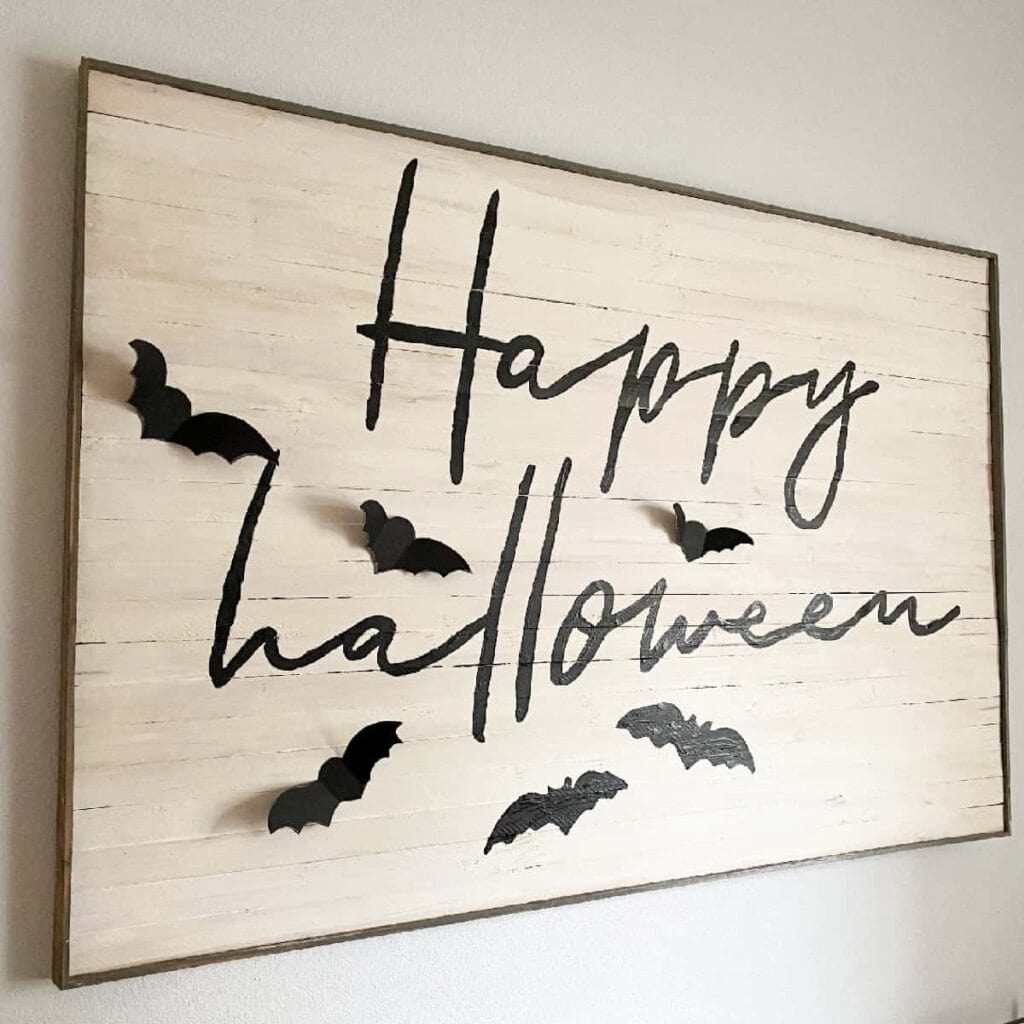
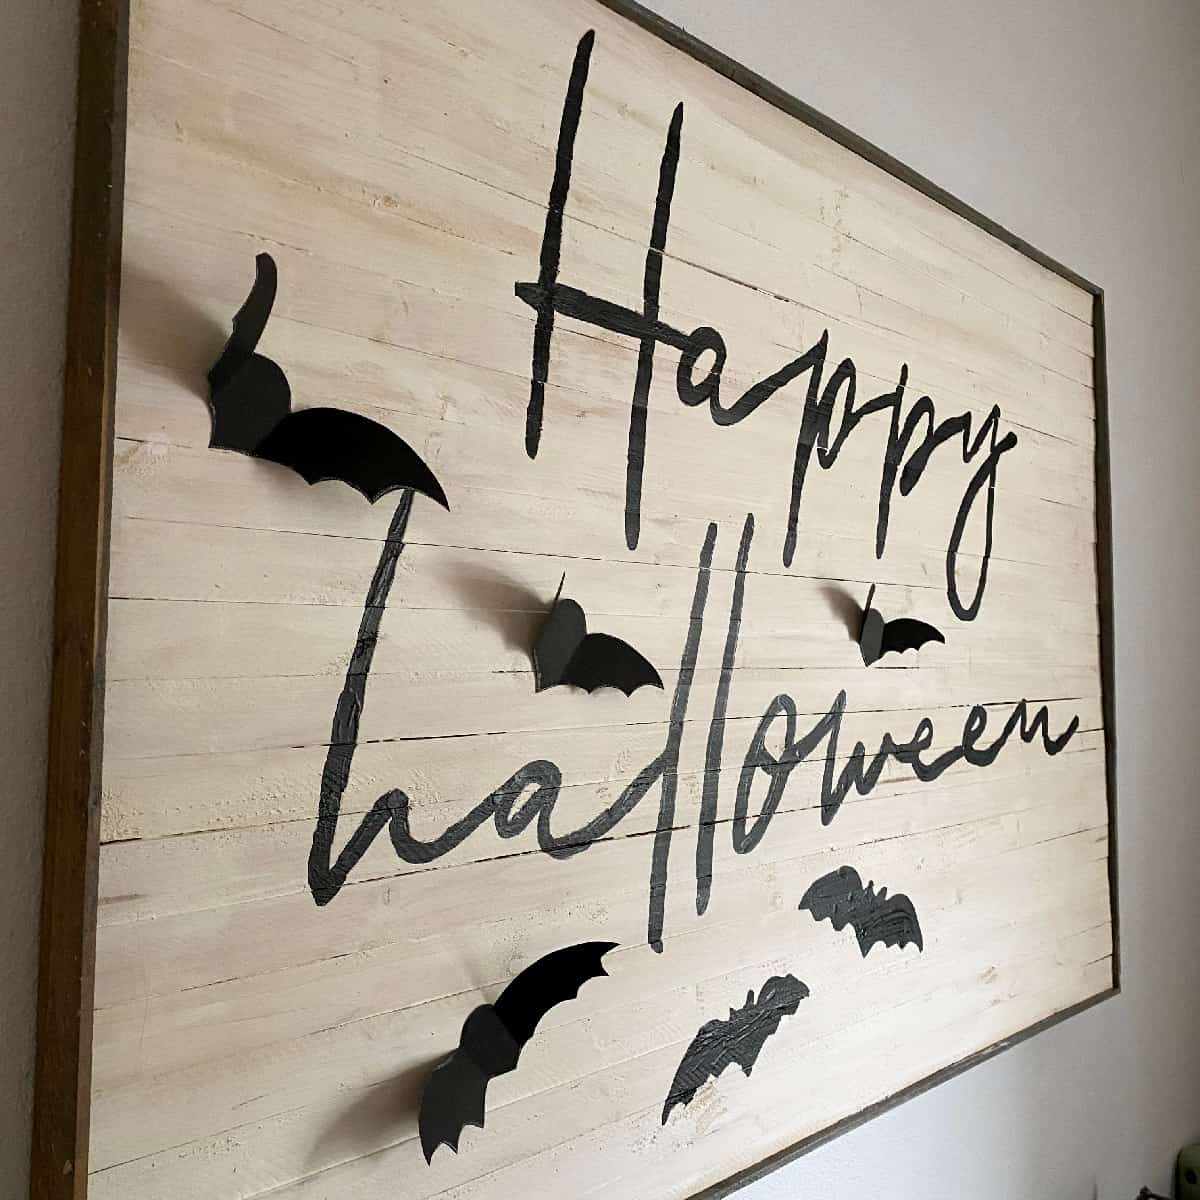
This easy Halloween wood sign has little bats painted on it but if you look close you can see the 3-dimensional bats that I cut out of black construction paper. Here’s a different angle so you can appreciate how cute these little bats are!
DIY Valentines Day Wood Sign

This Valentine’s day sign has one of my favorite bible verses. I actually have this sign hung up in my home from January to September when I switch it out with one the Fall or Halloween signs.
DIY Beach Themed Wood Sign

I hope you enjoy this project as much as I do. So go out there, create these amazing signs and send me some pictures of your finished project!
Frequently asked questions
Absolutely! I made my first sign over a year ago and it has held up well. I have taken them off the wall several times and it has been stored sitting upright against a wall. So far none have broke.
There are many ways you can add lettering to wood signs depending on materials you have on hand the the overall look you are going for. Here are a few of my favorites:
1. Design apps, like Canva, and a projector.
2. Cricut
3. Freehand
4. Stencils
5. Pyrography (burning letters into wood)/branding
Save the most bowed pieces of wood lath to make smaller sized signs as it is much more forgiving.
Possibly. Certain wood will cause the paint to yellow slightly over time, especially if using white paint. To minimize this you could prime the wood prior to painting. Since I used a white wash on mine, any yellow tints are not noticeable and actually add to the rustic charge.
When using wood lath there may be some movement to the sign. To fix this just place a few command strips behind the sign to hold it securely to the wall.
How To Make A DIY Wood Sign [Reversible, Cheap, and Easy]
Equipment
- miter saw or miter box with saw
- projector, Cricut, stencil, or something to make letters or designs on your signs (optional if you are artistic and can just free hand it)
Materials
- pack of wood lath (50 piece)
- 1 wood glue
- 1 paint or stain
- 1 paint brush
- 4 command strips (optional)
- 4 scrap pieces of ½ inch thick lumber (optional)
Instructions
- Decide the size of your sign.
- Decide if you want the wood lath pieces to run horizontal or vertically.
- Pick the straightest wood lathe pieces out for large signs and for the frame pieces.
- This step is less important for smaller signs.
- Cut the wood lathe pieces to desired length/or width.
- Work on a surface that can get glue on it or protect it with plastic/wax paper.
- Glue each piece together and secure with painters tape to ensure the glue bonds the boards together tightly.
- Work in small sections for larger signs or just glue all of the wood pieces together for smaller signs.
- Allow the glue to dry completely
- Sand the access glue off the boards before painting or staining.
- Paint, whitewash, or stain one side of the wood lath board.
- Allow to dry.
- Paint, whitewash, or stain the opposite side of the wood lath board. Note: the paint/stain may bleed through to the other side so you may want to consider painting each side the same color.
- Allow to dry.
- Cut your wood lath frame pieces to size, cutting approximately 45 degree angles. Remember to cut long and then slowly cut down until the desired cut is achieved.
- Dry fit the frame pieces to make sure the fit is appropriate.
- Paint, whitewash, or stain the frame pieces. Allow to dry.
- Place ½ inch boards (or 2 stacked pieces of scrape lath) under the wood lath board in preparation for adding the framing. This step is essential so there is framing on each side of the sign. Don't worry if the framing appears uneven on each side. It is virtually unnoticeable when the sign is hung up (refer to the video if this step seems confusing)
- Attach the frame pieces around the edges of the wood lath board with wood glue. Secure the frame edges with painters tape to hold the framing securely together while it dries.
- Allow the glue to dry.
- Sand off access glue and touch up paint , whitewash, or stain if needed.
- Decorate your sign using stencils, projector, Cricut, or free-hand.


Tessa says
How do you hang these reversible signs? I’m working on my own but not sure how to hang it without then having the hardware on the other side when I want to flip.
Also, what projector do you use??? I’ve been wanting one.
Melinda says
I nail two small nails into the wall and then hang the “lip” of the sign on the nails. It is helpful to have the nails at a slight angle up toward the ceiling to prevent the sign from slipping off. The sign will likely not hang flush against the wall because of the materials used. This doesn’t bother me so I just leave it but you could use command strips on the lower corners if preferred.
I have a few different projectors, both can be used with my iphone. That way I can make a design in Canva on my phone then project it directly onto the sign. You will need an adapter for this to work though…I made this mistake and didn’t have the proper adapter the first time I did this project. To find projectors just type in “iphone projector” on Amazon for options. I chose one that had decent reviews but have had it for years so there may be better ones on the market now.