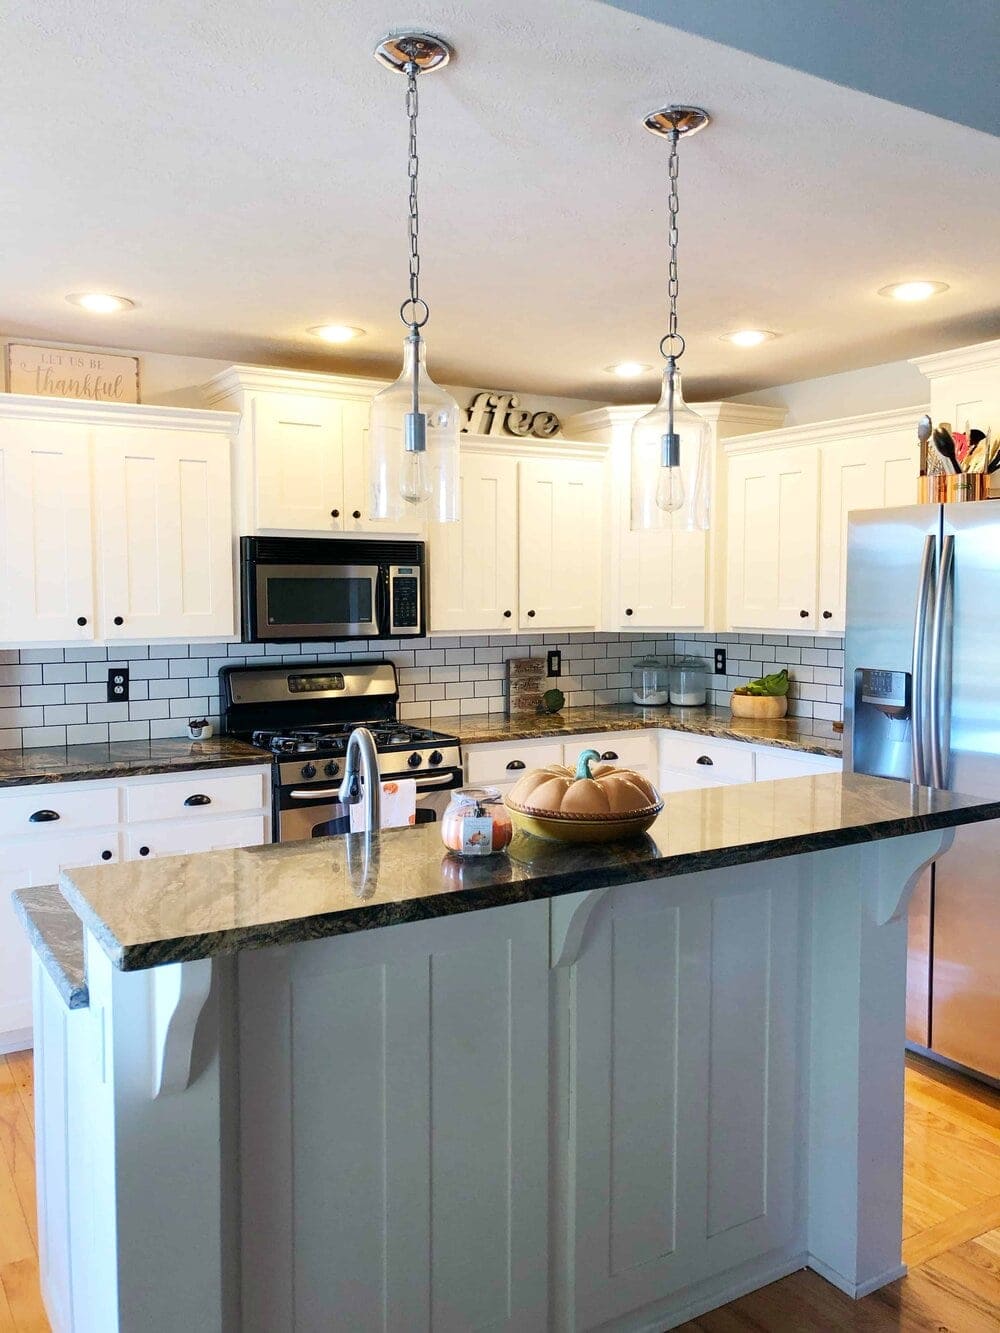
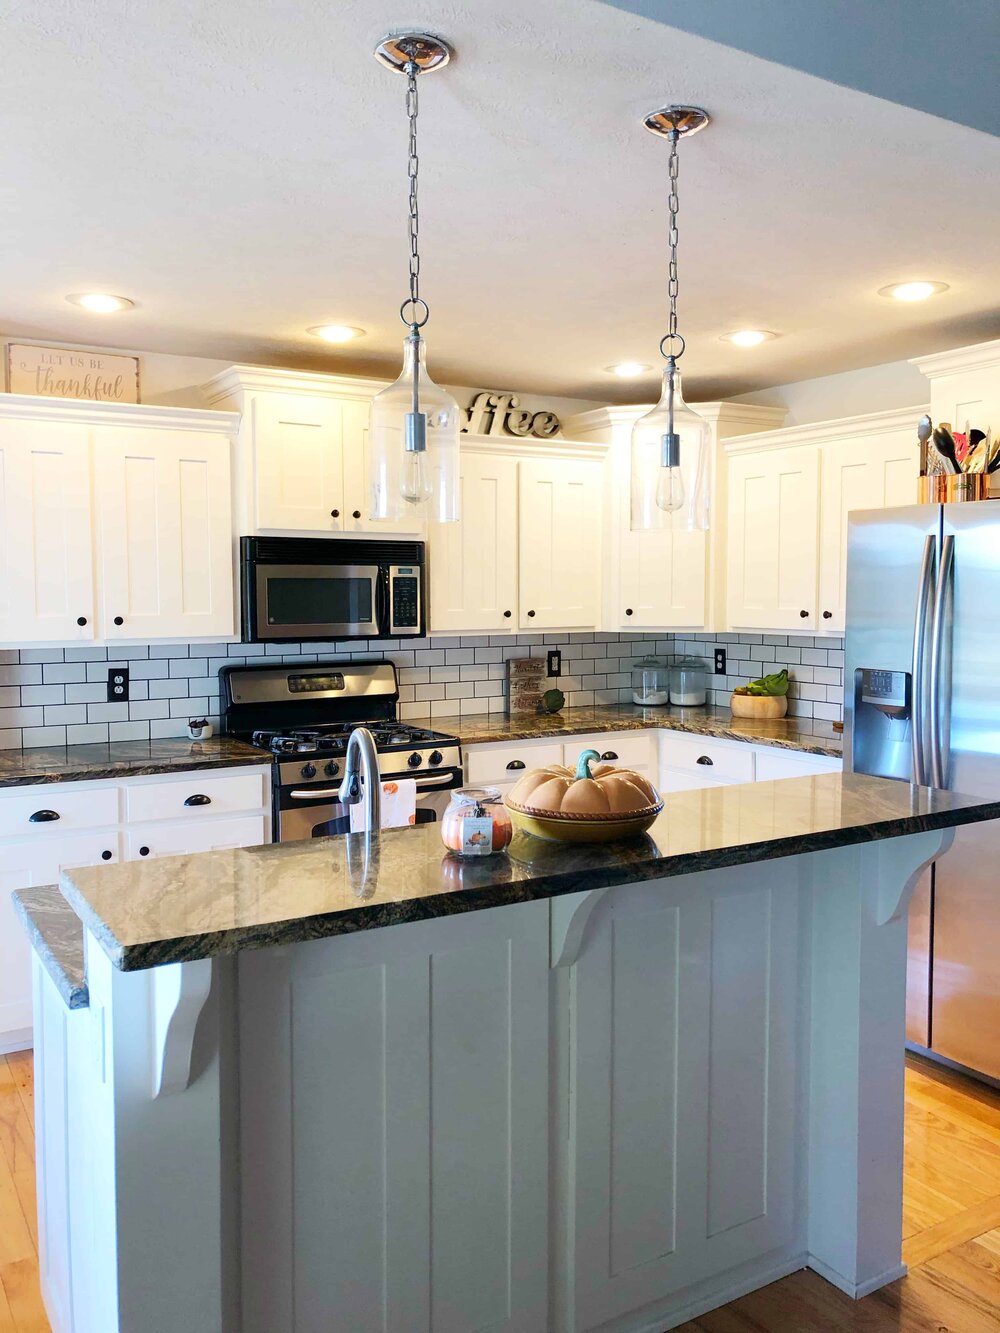
My husband and I took a builder grade kitchen and turned it into a showstopper using basic building materials and our own sweat equity for just $2000.
After the birth of our first daughter, it became clear that we were going to eventually need a bigger home.
Those babies come with a LOT of stuff!
We knew we wanted to build our own home so we turned our attention to finding a nice walkout lot in the school district we wanted to be in. At the time we had one goal…budget.
Our diy skills had not truly evolved at that time so going with budget friendly options unfortunately resulted in a “builder grade” home with very few upgrades. This actually was a blessing in disguise because it led to the undertaking of many future projects.
Before and After Kitchen Remodel
[Missouri Girl is a participant in the Amazon Services LLC Associates Program, an affiliate advertising program designed to provide a means for sites to earn advertising fees by advertising and linking to Amazon.com].
When we built our house, our kitchen had the most beautiful natural maple cabinets, one of the only upgrades we allowed ourselves. I had no idea at the time that it is common for protective finishes to eventually cause the wood to amber over time when exposed to sunlight. The nice term is “amber”, but what this really means is that my beautiful maple cabinets in our sunny kitchen turned YELLOW!
Here is the BEFORE picture:
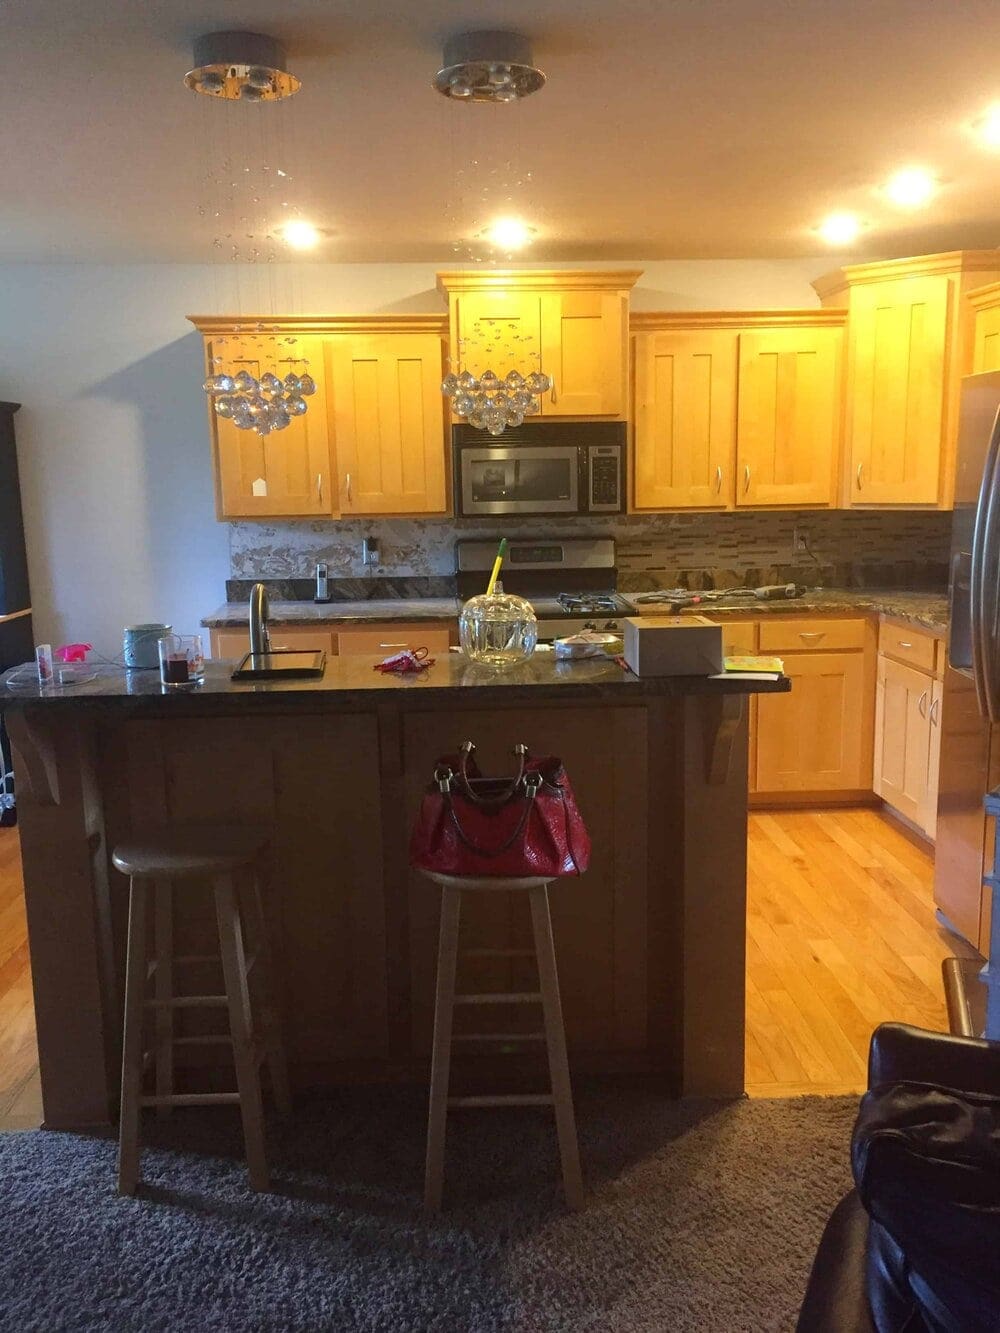
Overall, not a bad kitchen but it became dated in a short amount of time and just wasn’t my style anymore. The yellow cabinets really needed to go.
I lived with it for years until I decided we needed additional storage in the kitchen, mainly to store my mother’s china. Luckily we had the space to add additional cabinetry. The existing cabinets were in good shape, just an unsightly yellow, so we decided to get a quote for custom cabinets made to match the existing Shaker style cabinets. It was somewhat of a surprise when the lowest quote for an 8 foot section of unfinished cabinetry without any hardware or glass came in at $3500! No other kitchen upgrades included in that cost, let alone the cost of finishing the cabinets.
Wasn’t going to happen.
Building your own kitchen cabinets without expensive tools or equipment
That’s when I started looking for alternative solutions for additional storage at an affordable price. For weeks I researched basic cabinet building and made a spreadsheet of all materials, tools, and the budget needed to build our own cabinets. Then I presented it to my husband. Have I mentioned I have the best husband in the world?
Because I do.
He helps me do all kinds of crazy stuff. Like making our own kitchen cabinets.
So with a plan in hand, the garage became a work shop for the next 2 months.
The steps
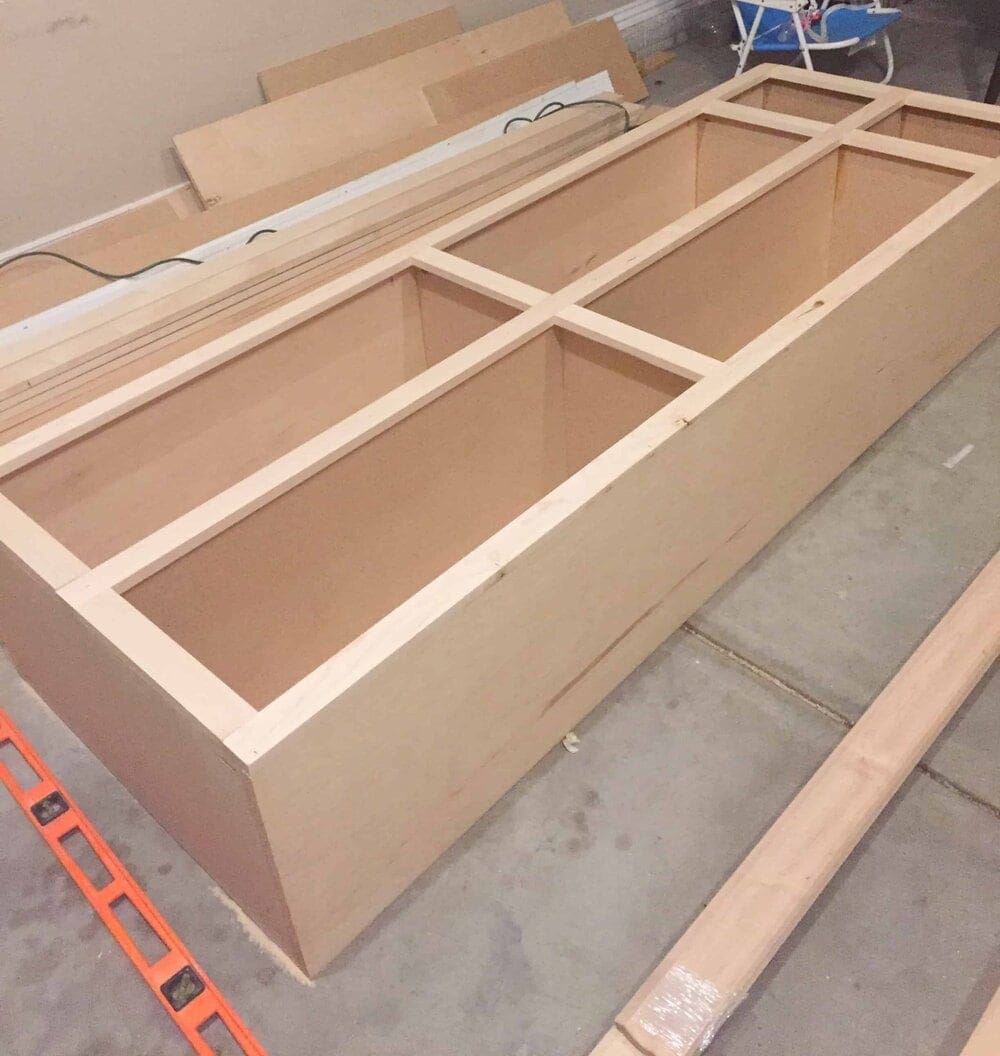
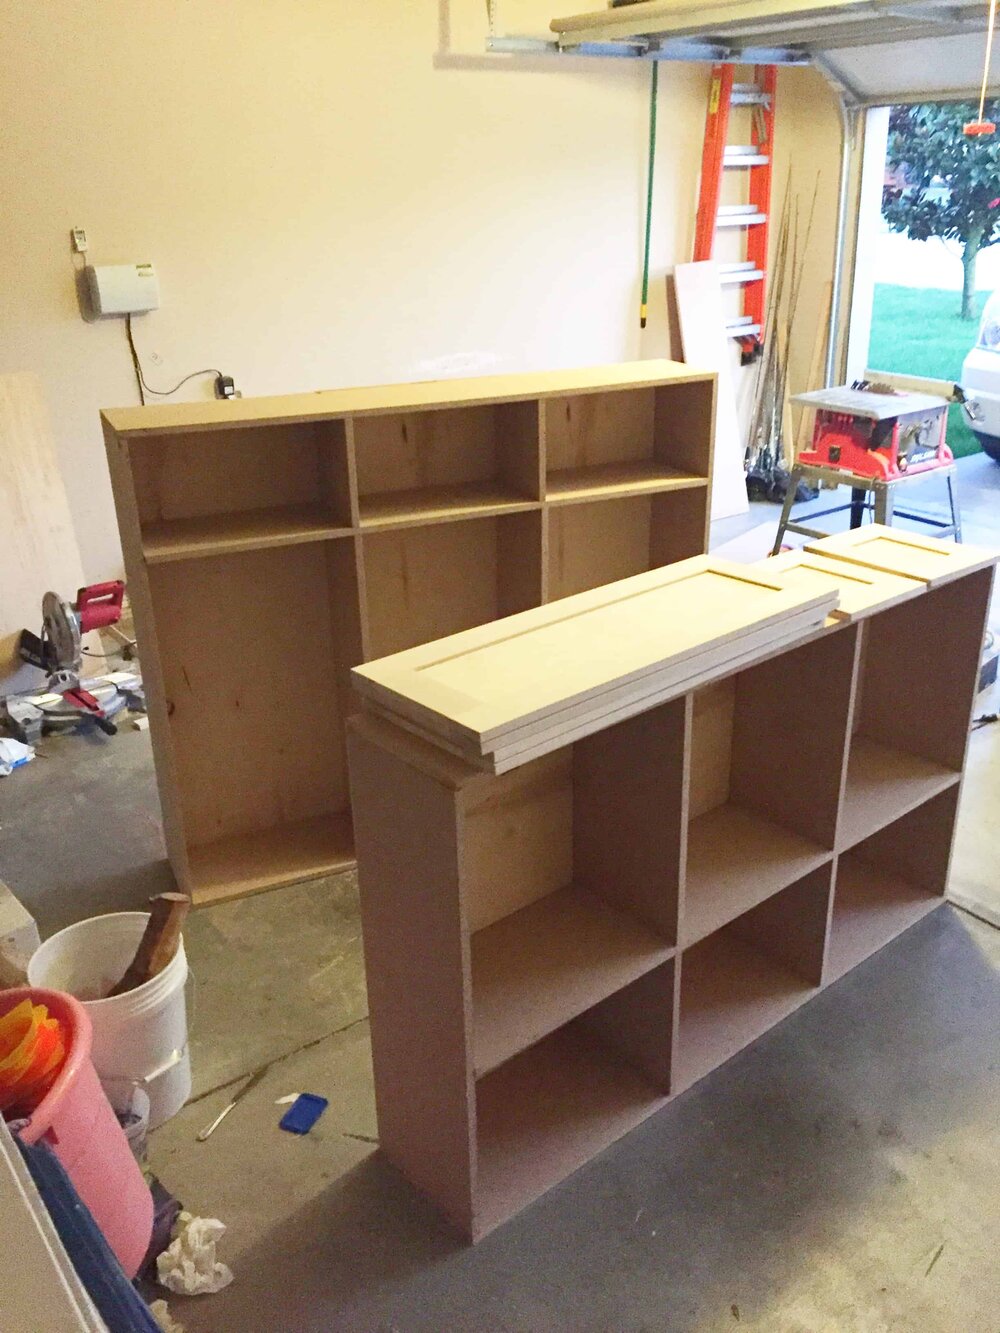
Build the cabinet boxes
We used maple wood on the facings which we purchased from a specialty wood shop to match the existing cabinets.
The first thing I needed to figure out was how to make strong joints for the cabinet boxes that would withstand years of use, again without fancy machinery. That’s when I was introduced to the Kreg Jig.
This thing is truly amazing. It is a jig that allows you to drill a pocket hole into wood that will allow a screw to be screwed in at just the right angle to create a strong joint.
Add some wood glue (Titebond is my favorite) and a few finishing nails and you get a solid, strong joint at minimal cost and labor.
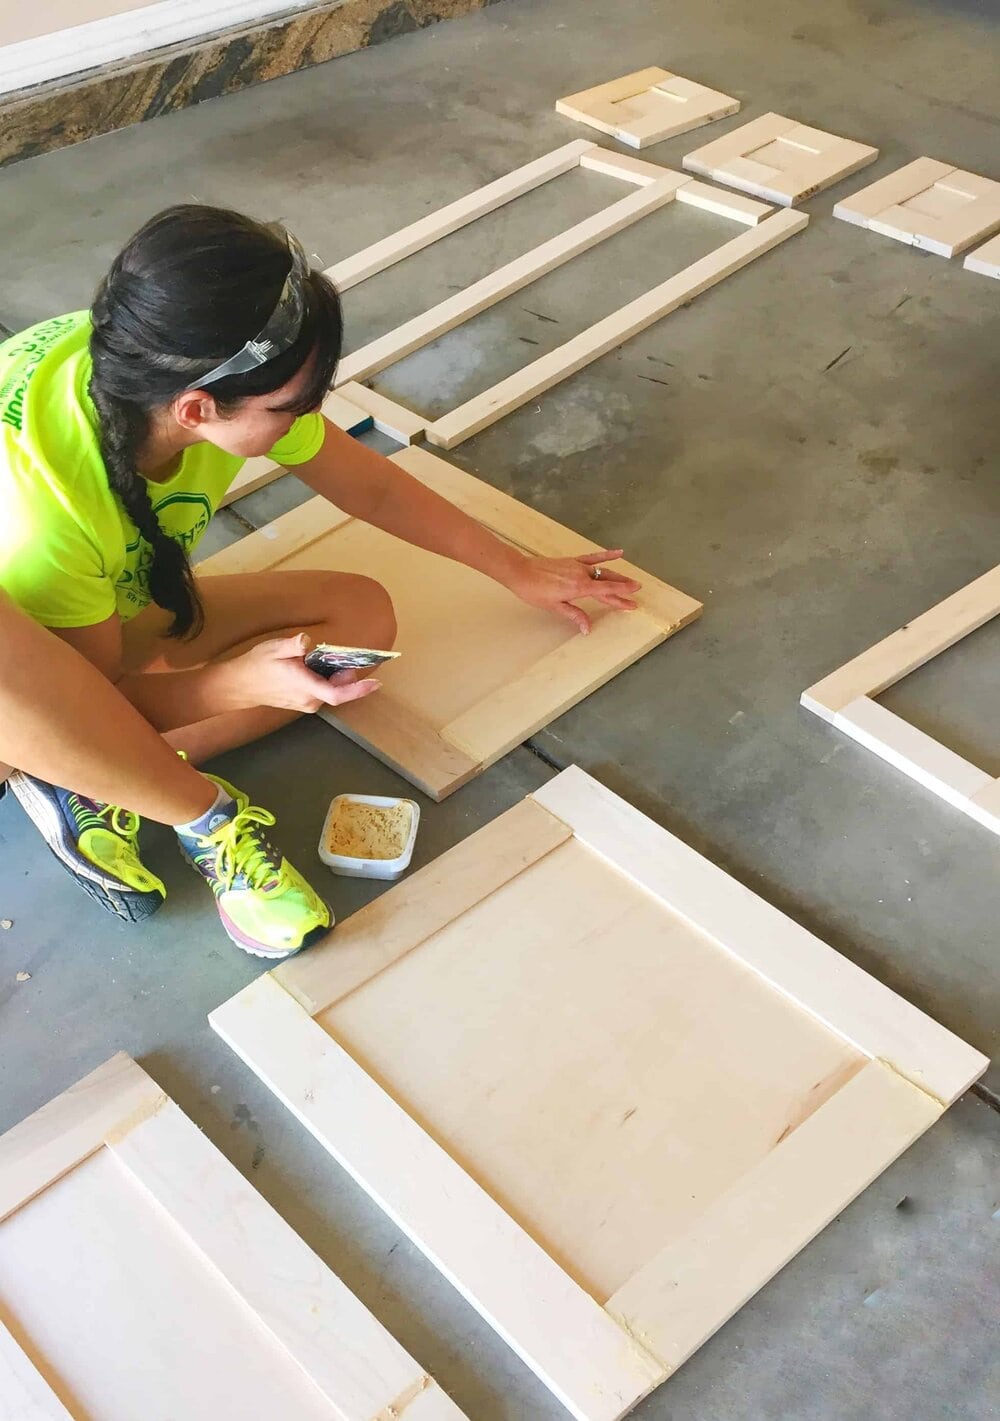
Make the cabinet doors
During the research phase of our project I was surprised to find that it is common to make Shaker style cabinets using a table saw and a (paid links to follow) Dado blade set (like this one here) to route out the groove for the cabinet panel.
The same Dado blade set could also be used to make a tenon (a projection on the end of wood) to join the cabinet door frame together. Titebond Wood glue and finishing nails were then all that was needed to build the doors.
Don’t have a table saw? Most big box hardware stores have large saws to cut materials for a small price, usually $0.25/cut.
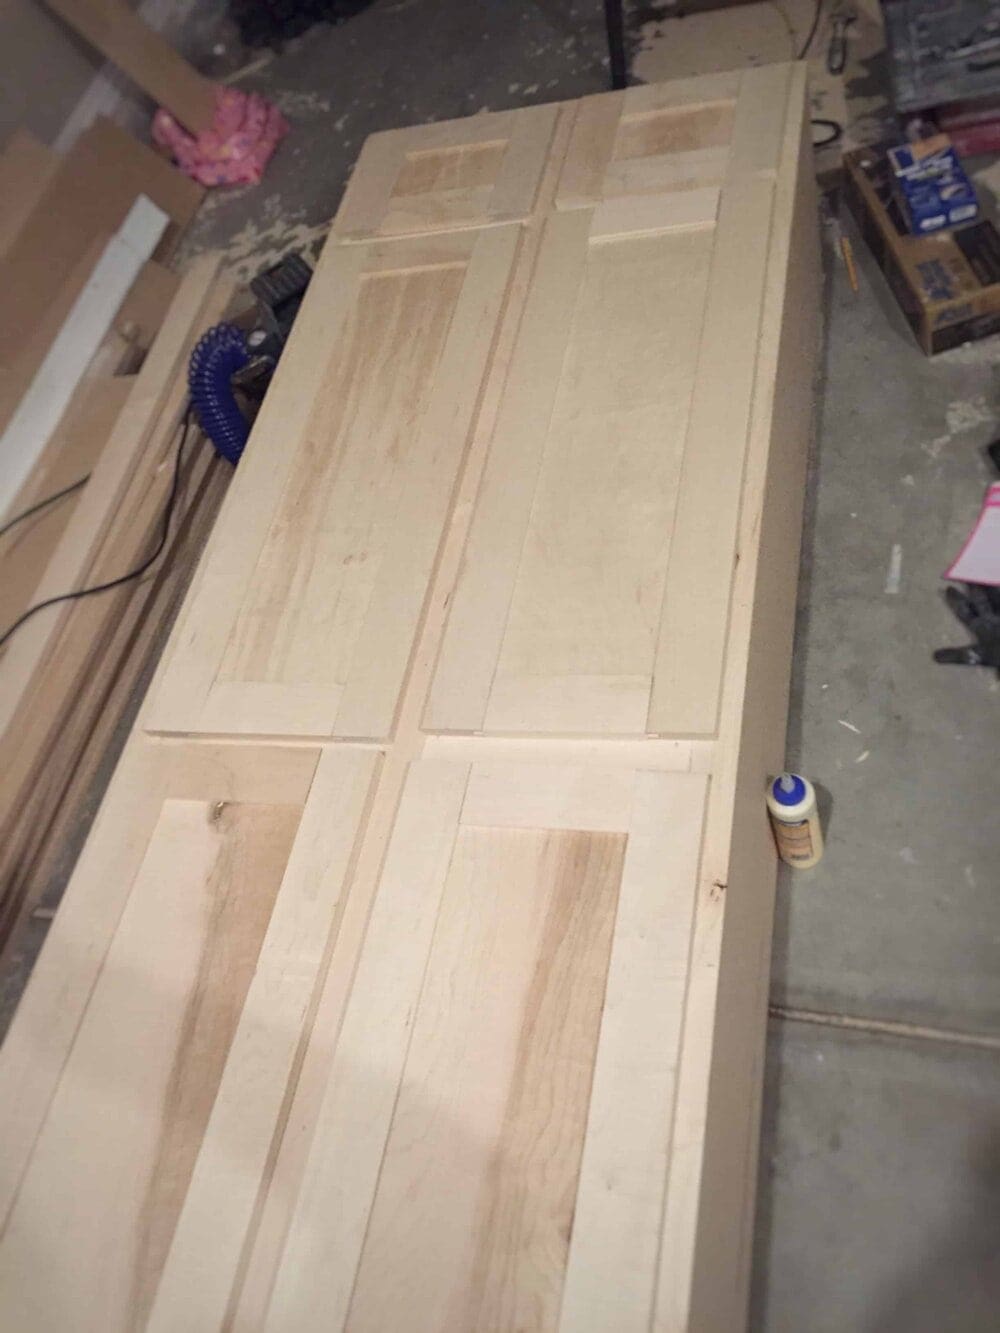
Lots of wood filler and sanding was required to give the doors a finished look.
How to cut granite in your home without a mess
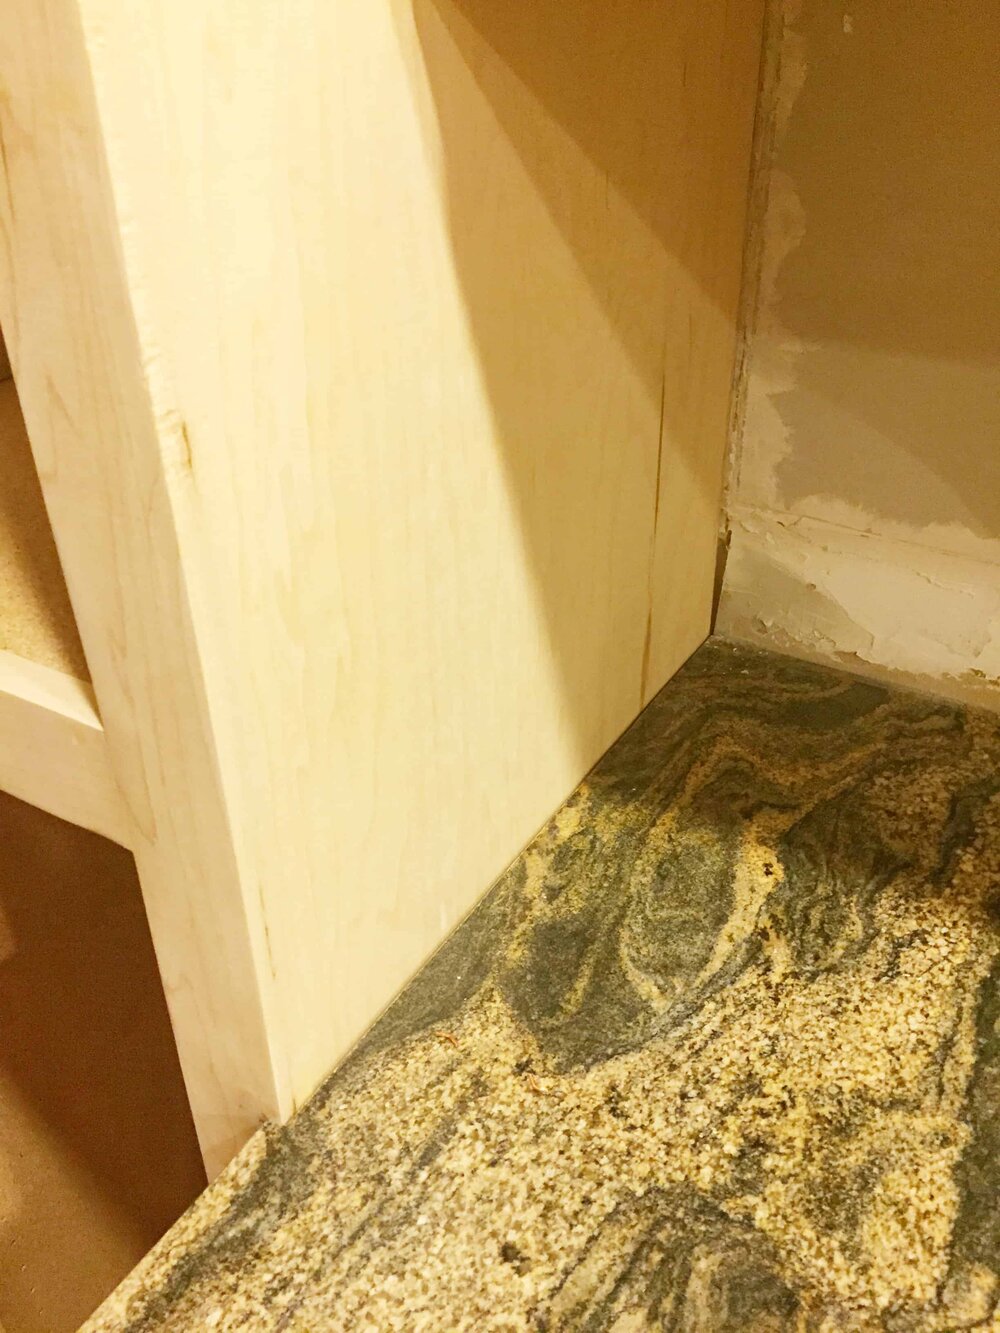
We called in the experts for the next step. The granite needed to be cut to allow the pantry to sit flush against the other cabinets. I’m brave but wasn’t about to touch that one!
$100 well spent.
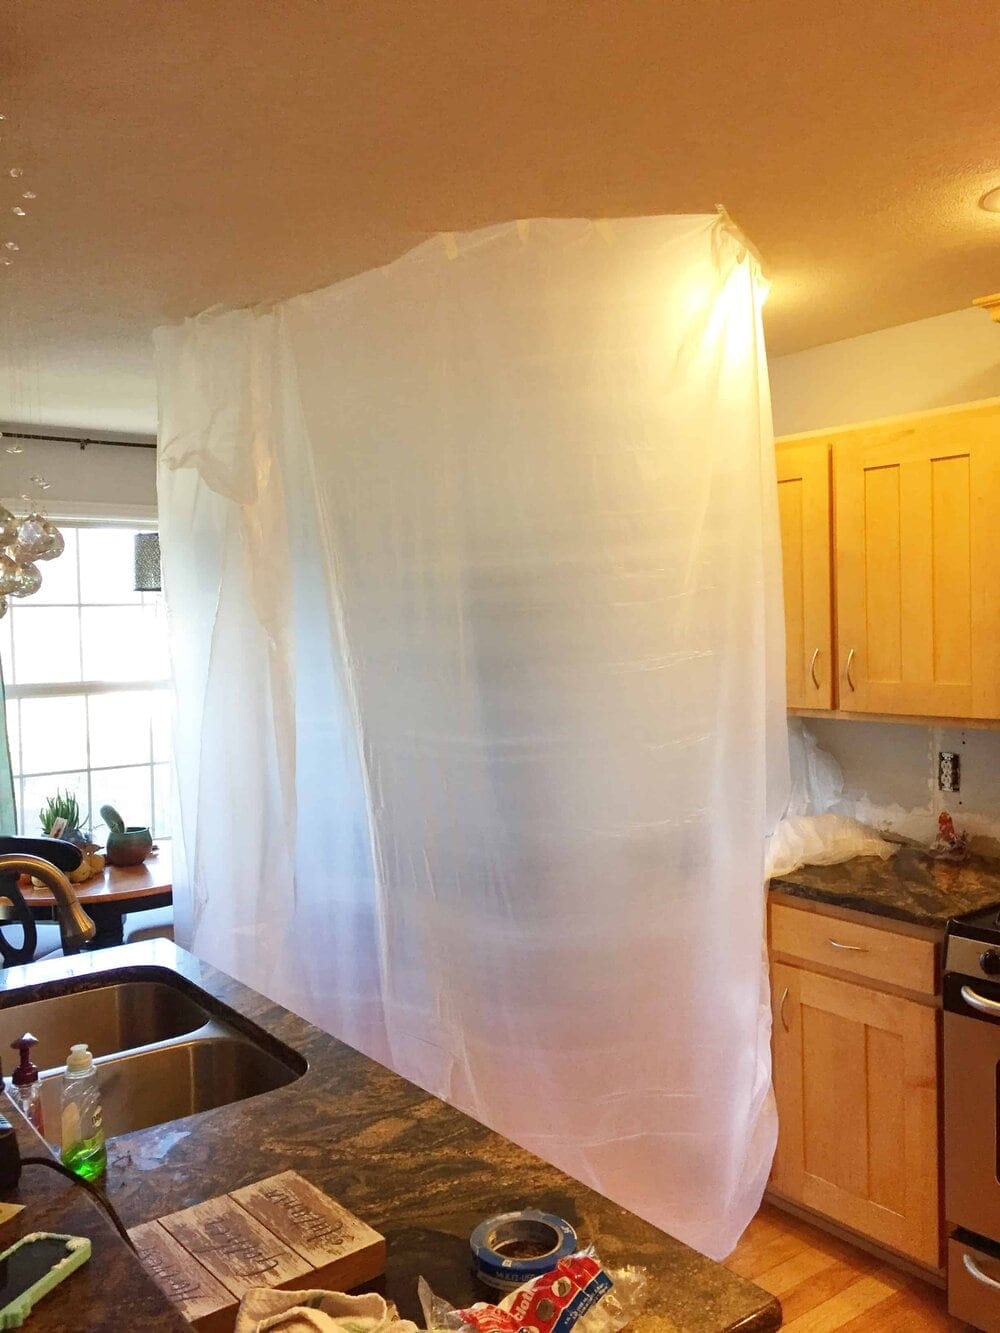
Cutting granite is a messy job as we discovered when we first had the granite installed several years ago. Imagine a very fine layer of granite dust over everything (do to a Shop-Vac mishap). We were dusting for weeks. To cut down on the granite dust, I installed a dust curtain to contain it.
Worked like a charm.
Now the granite sits flush with the existing cabinets to make it appear as if they had always been there.
Installing the cabinet boxes
Next, the cabinet boxes were installed. We were able to install the shelves with the help of this Kreg Shelf Pin Drilling set.
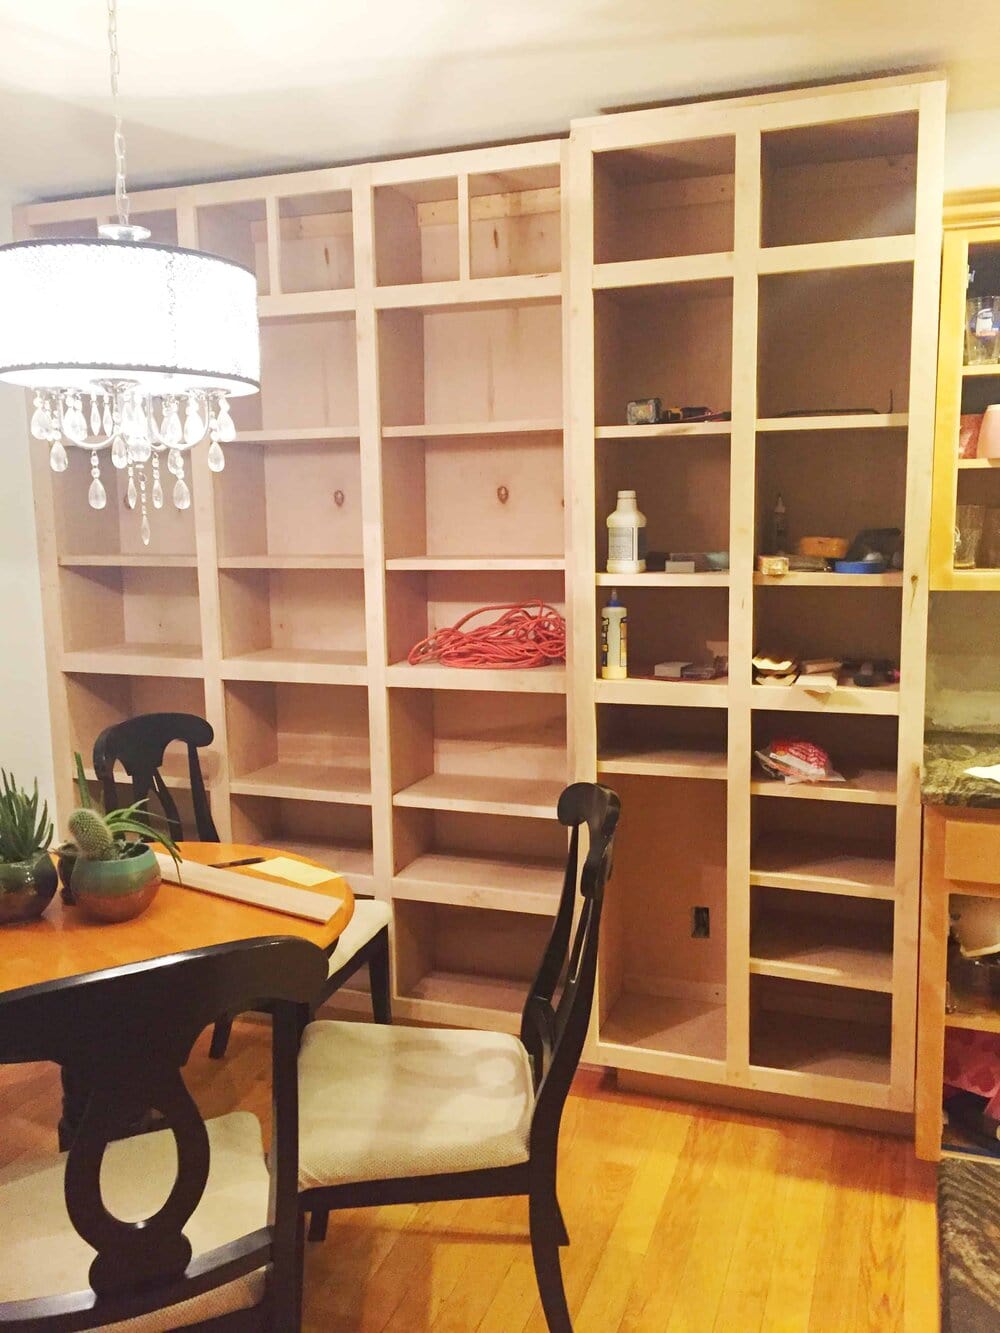
How to paint kitchen cabinets with a durable finish that will last
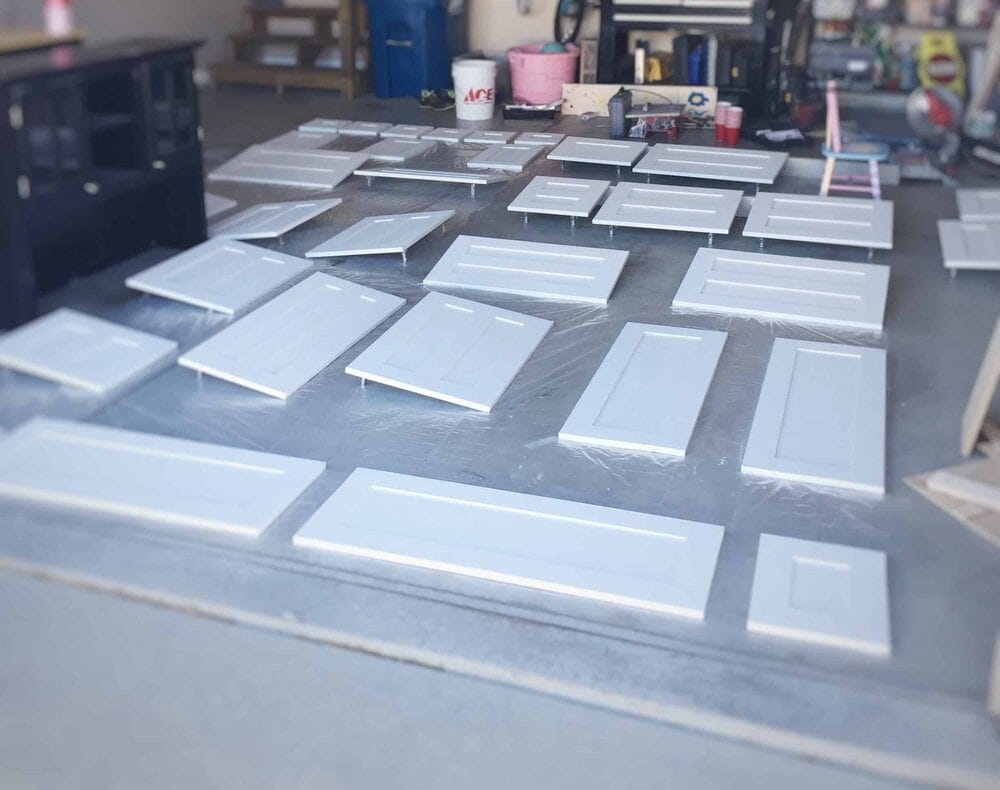
Then came the most time consuming part of the project. Remember those “amber” cabinets? All of them needed to be sanded, primed, and painted. So I called in the troops and we knocked it out.
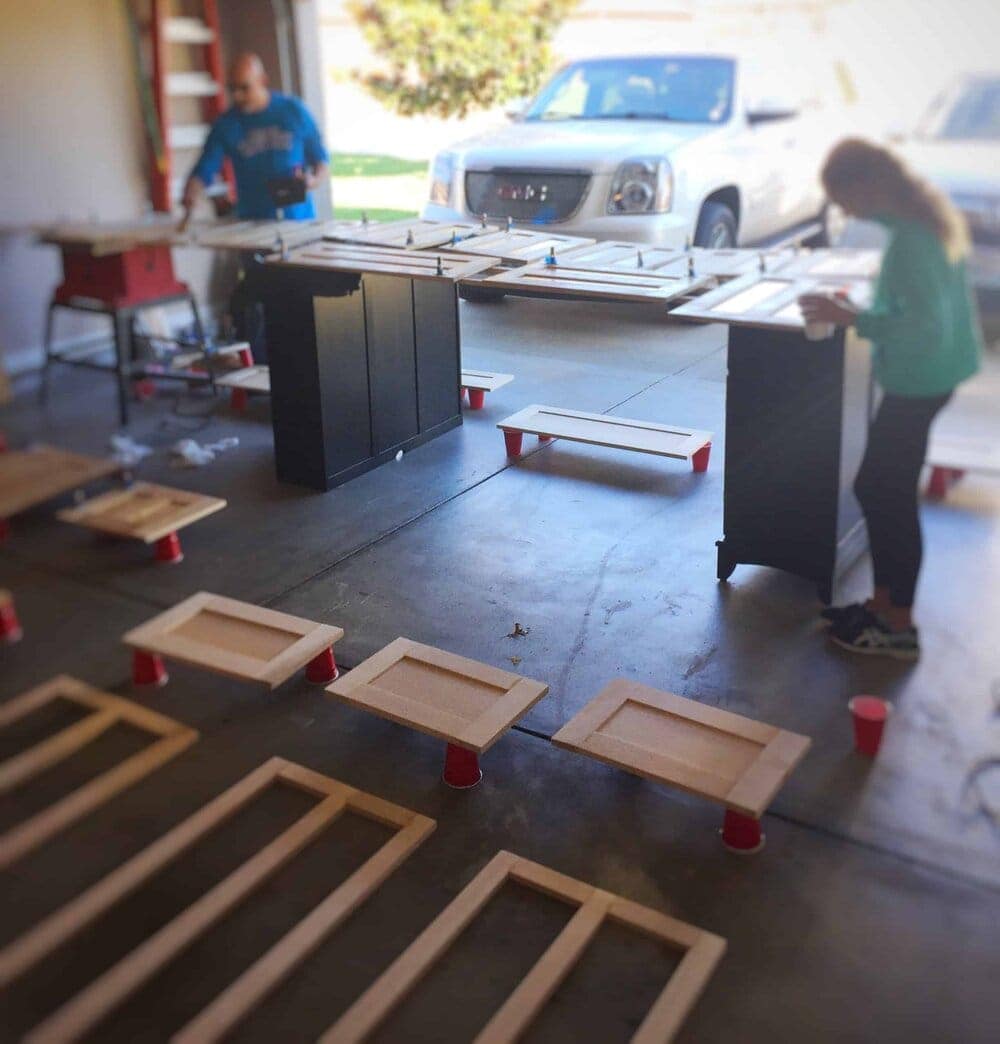
Solo cups made the painting job go much faster.
Deciding which paint to use was one of the most difficult decisions of the entire renovation.
What is the best paint that can take the abuse of young kids?
After much consideration (and mental turmoil) I decided to go with oil based paint. I had used it on previous projects and loved the result. The problem with oil based paint though is that it is a royal pain to work with. Smelly, long dry time, and clean up involves the use of mineral spirits. Ultimately, durability trumped convenience so oil based it was.
How to avoid cleaning oil based paint off paint brushes between painting days
I discovered a little trick when working with oil based paint. After you are finished painting for the day, dip the brushes in the paint and then wrap them tight in plastic wrap. They will stay wet until the next day and you don’t have to clean brushes everyday. Perfect for when you are painting for multiple days but don’t want to pull out the mineral spirits. Whoohoo!!!!
Adding the finishing touches
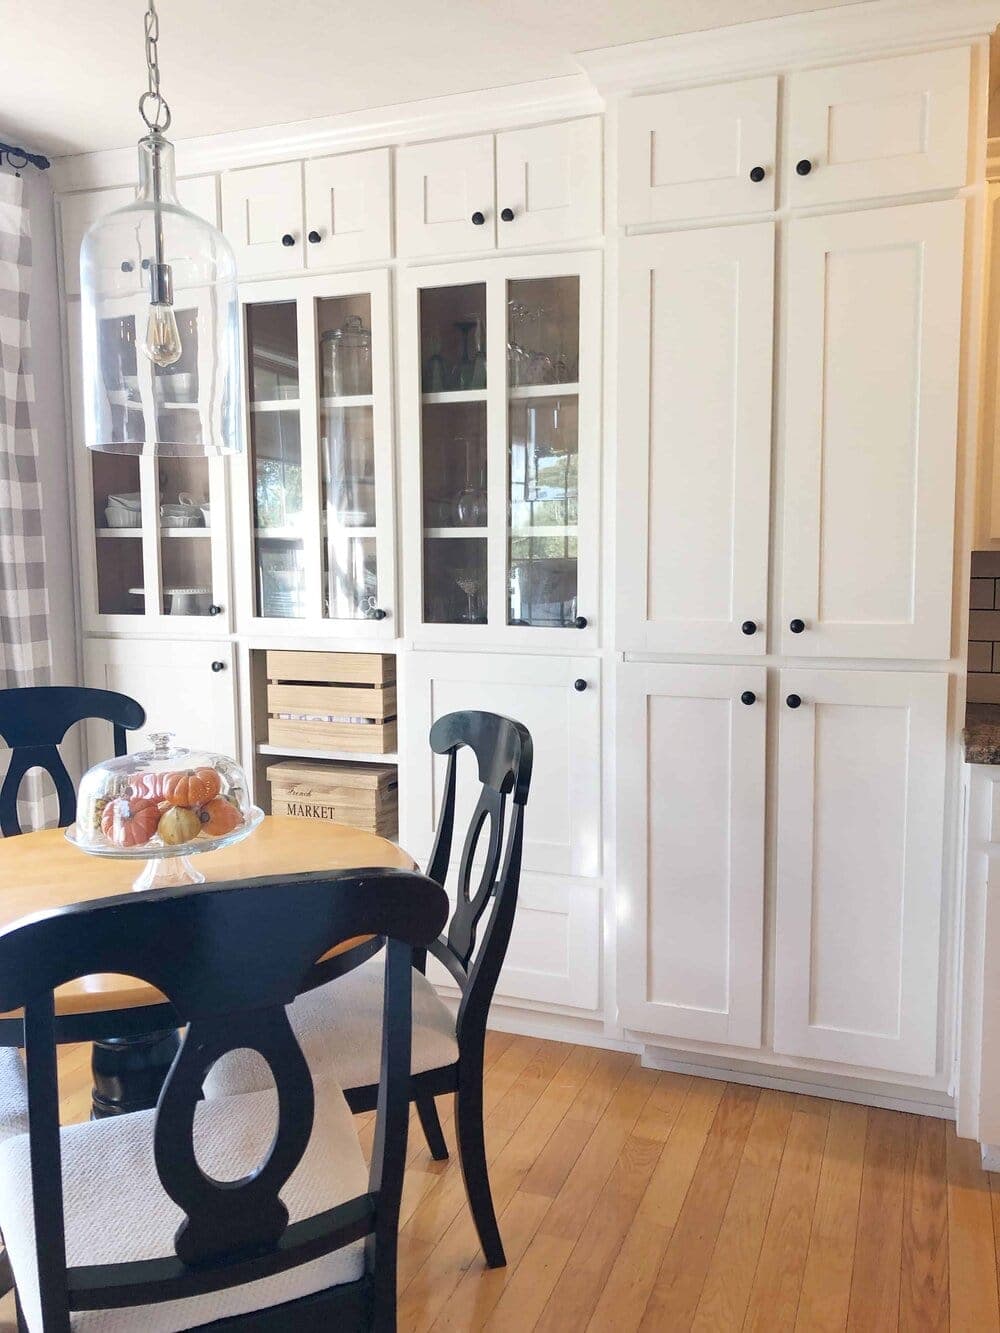
Now for the finish work. My favorite! Glass was added to 3 of the cabinet doors so my mom’s china could be displayed, all of the cabinet doors were hung, the hubby added crown molding, and new hardware was installed. Next, we decided to add a new back splash of white subway tile and install new lighting.
Cost
The grand total of the entire renovation was $2088.
This included the cost of all materials and tools needed to complete the project including a new miter saw, a Brad nailer, lumber, Dado blade set, other building supplies, Kreg jig for the joints and the Kreg shelve pin Drilling Jig, new hardware, glass for the cabinet doors, paint, paint supplies, back splash materials and supplies, as well as Kenroy Capri Lighting.
The result was better than I could have imagined. I have the kitchen of my dreams and, even more, I have the satisfaction and pride of knowing that we had created it.
Tips on how to keep expenses down on a kitchen remodel
So how did we do this for such a great price?
- Well, first of all we were able to do almost all the labor ourselves. Labor is usually the number one cost in a any project so doing it yourself is the best way to instantly cut your costs.
- Price check everything and shop smart. I price checked all items and was constantly looking for the best deals. The lighting was my best bargain. I spotted those lights in a magazine one day and fell in love with them. I scoured the internet until I found them. Unfortunately, they cost more than we had budgeted for so I continued to look online. One day, Bed Bath and Beyond put them on sale and I snatched them up for half the cost.Who knew Bed, Bath, and Beyond even sold lighting? Interested in the Large Kenroy Capri Light Pendent (click Here), or the mini Pendant (click Here).
- There are often multiple ways to get to a job done, some more expensive than others.
- Use what you have when appropriate. We kept the original kitchen cabinets and made the new cabinets match. Our appliances and exiting granite were in good shape as well so they stayed and I just designed around them.
So what advice would I give to anyone thinking about trying their hand at diy?
- Do it. Tomorrow.
- Research well. You can learn how to do just about anything on YouTube.
- There is likely more than one way to complete each step of your project. Some are much more simple than others. Keep it simple.
- Start small, your skills will grow.
- You will make mistakes. Embrace them! They may add character. You will learn from these mistakes and get better with every project you do.
- You will feel so much satisfaction when the job is done!
In all, it took us about 8 weeks to complete the project. A lot of that time was spent trouble shooting and just figuring things out as we went. There were many mistakes made but we were able to work through them and ultimately got an amazing kitchen for very little cost.


Leave a Reply