This easy diy drawer organizer tutorial will show you how to make a functional and easy drawer divider using budget-friendly materials…paint stirrers.
Cheap and easy $3 diy drawer organizer
Today we are going to talk about “that drawer”.
You know, the drawer that every home has that collects everything but the kitchen sink?
Yes, today we are talking about The Junk Drawer.
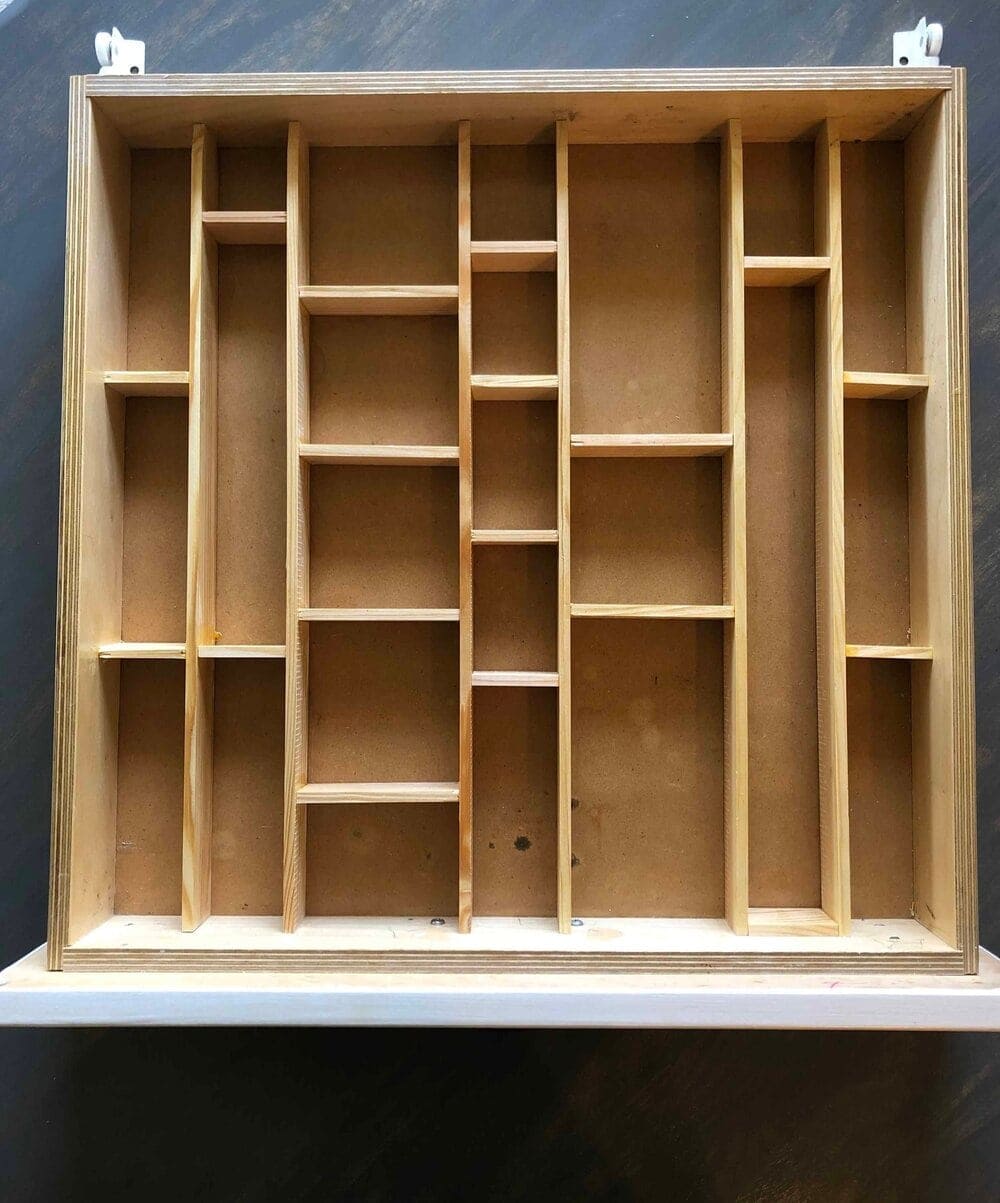
I have one and it never ceases to amaze me how much stuff one drawer can acquire.
It does get cleaned out from time to time, but more stuff always seems to make it’s way back.
Times two.
It was time for the junk drawer to get a face lift.
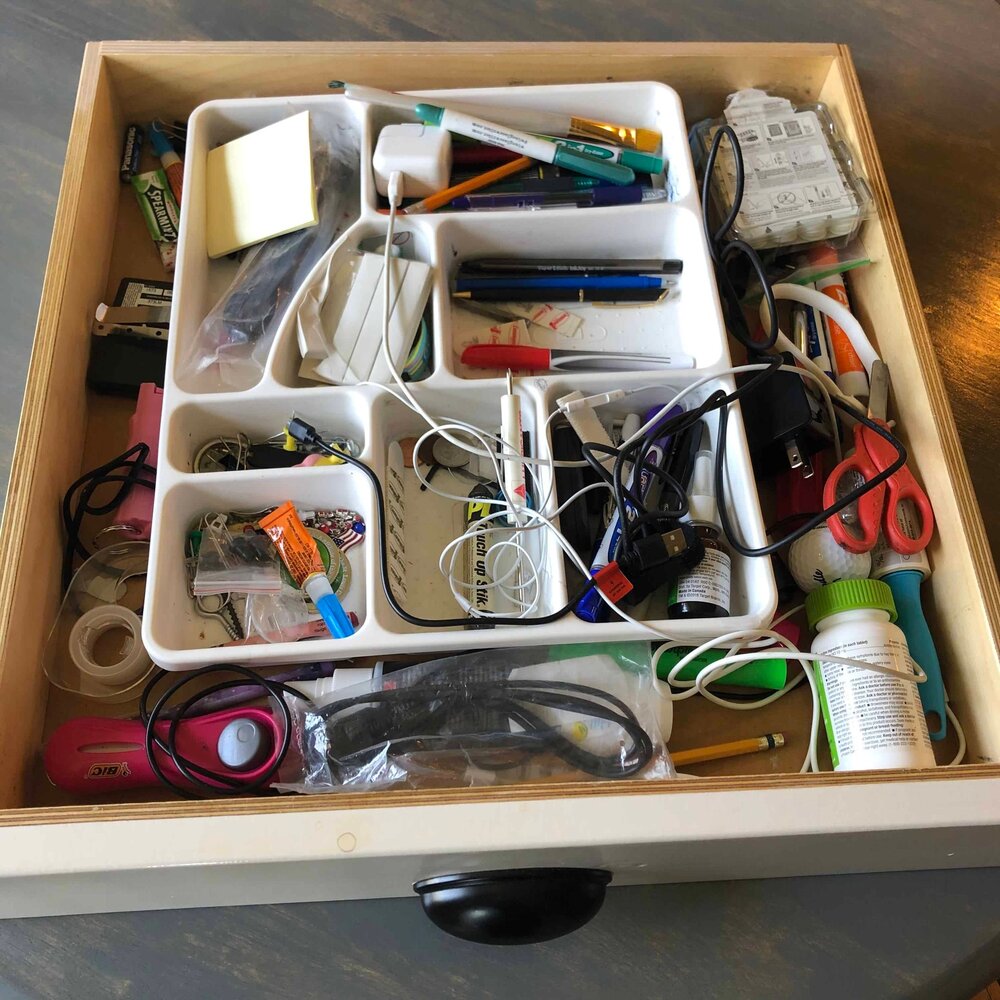
So here it is in all of it’s chaotic glory.
I’m so ashamed…
Using cheap paint stirrers to make the diy drawer dividers.
I have seen many different designs for diy drawer dividers using wood lath (a thin, narrow strip of wood). You can usually find it in the lumber section of the hardware store. We found it in huge bundle for about $50.
I really didn’t want to pay that much for a project that requires minimal wood, so I started thinking of alternative materials.
It just so happened that I had a large paint stirrer sitting on my counter top and when my eyes found it, a light bulb went off.
Perfect!
You can purchase a three-pack of paint stirrers for about $1. I figured I would need around 9 of them so if you do the math…yup, $3 was the projected cost for this project!
Whoot!
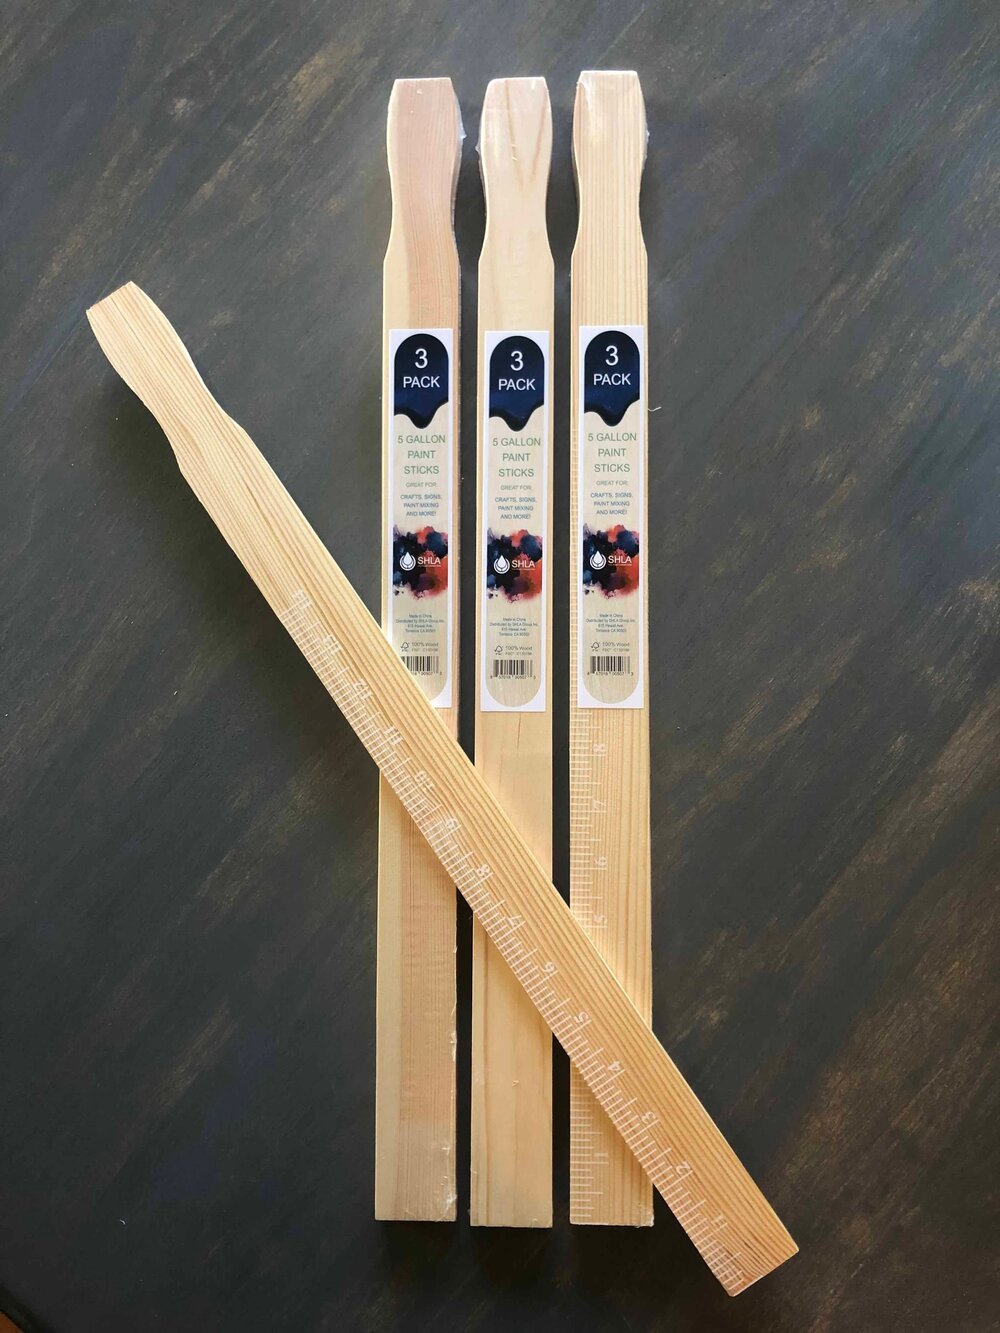
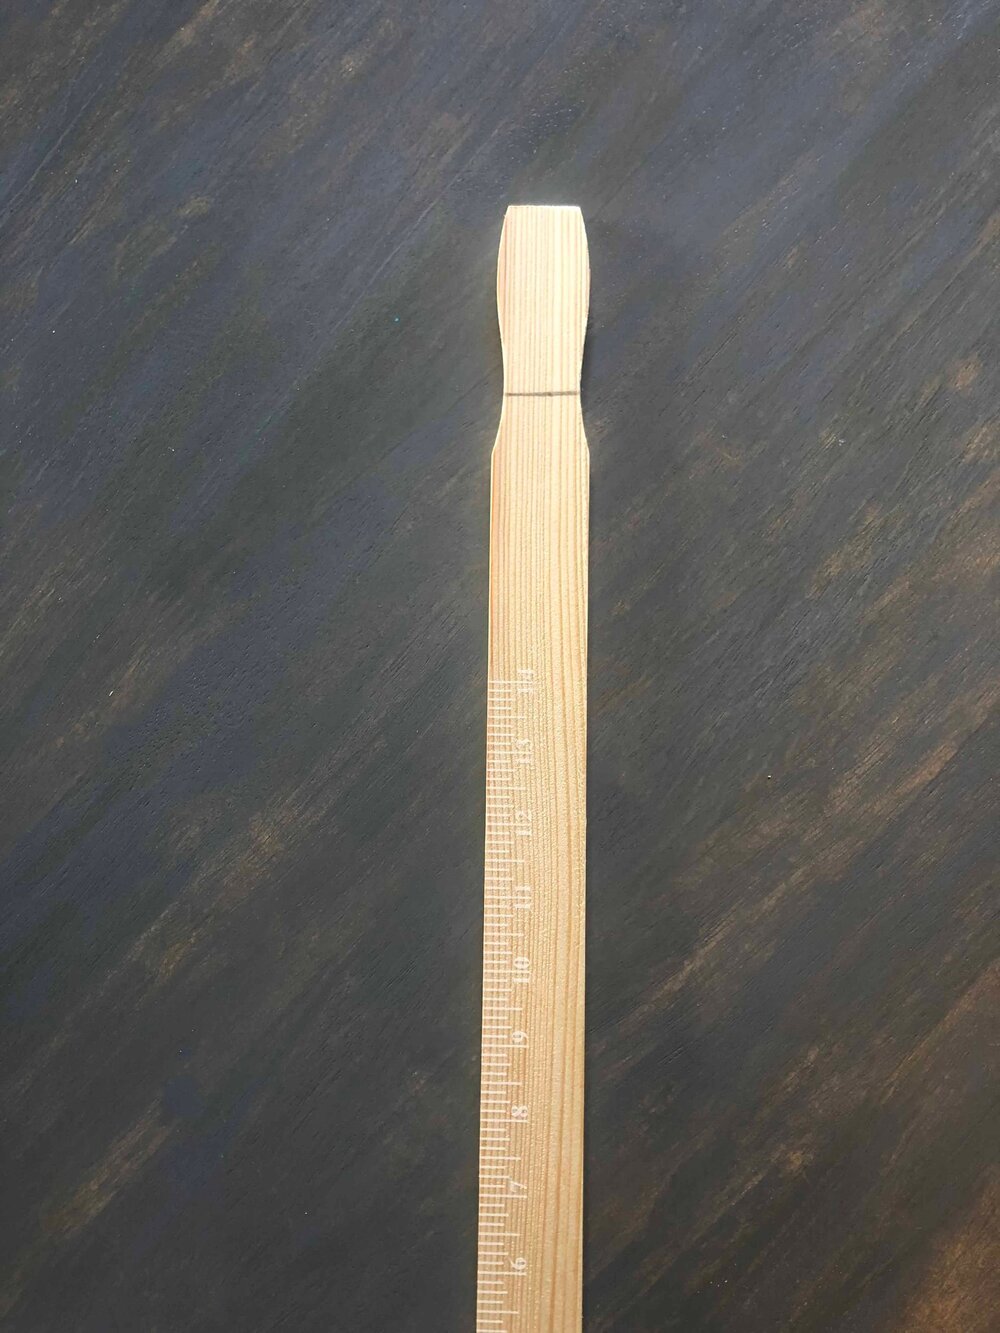
The only little hiccup was the shape of the paint stirrer. It has a handle at the end with little curved indentions on each side. The drawer measured about 18 x 18 inches and the paint stirrers about 21 inches. I was able to cut most of the handle off to fit the drawer and it didn’t effect the functionality in the least.
Materials needed
-
wood paint stirrers
-
wood glue
-
miter saw (or another tool to cut the paint stirrer to length)
-
tape measure
-
pencil
-
painters tape
How to make a budget-friendly diy drawer divider.
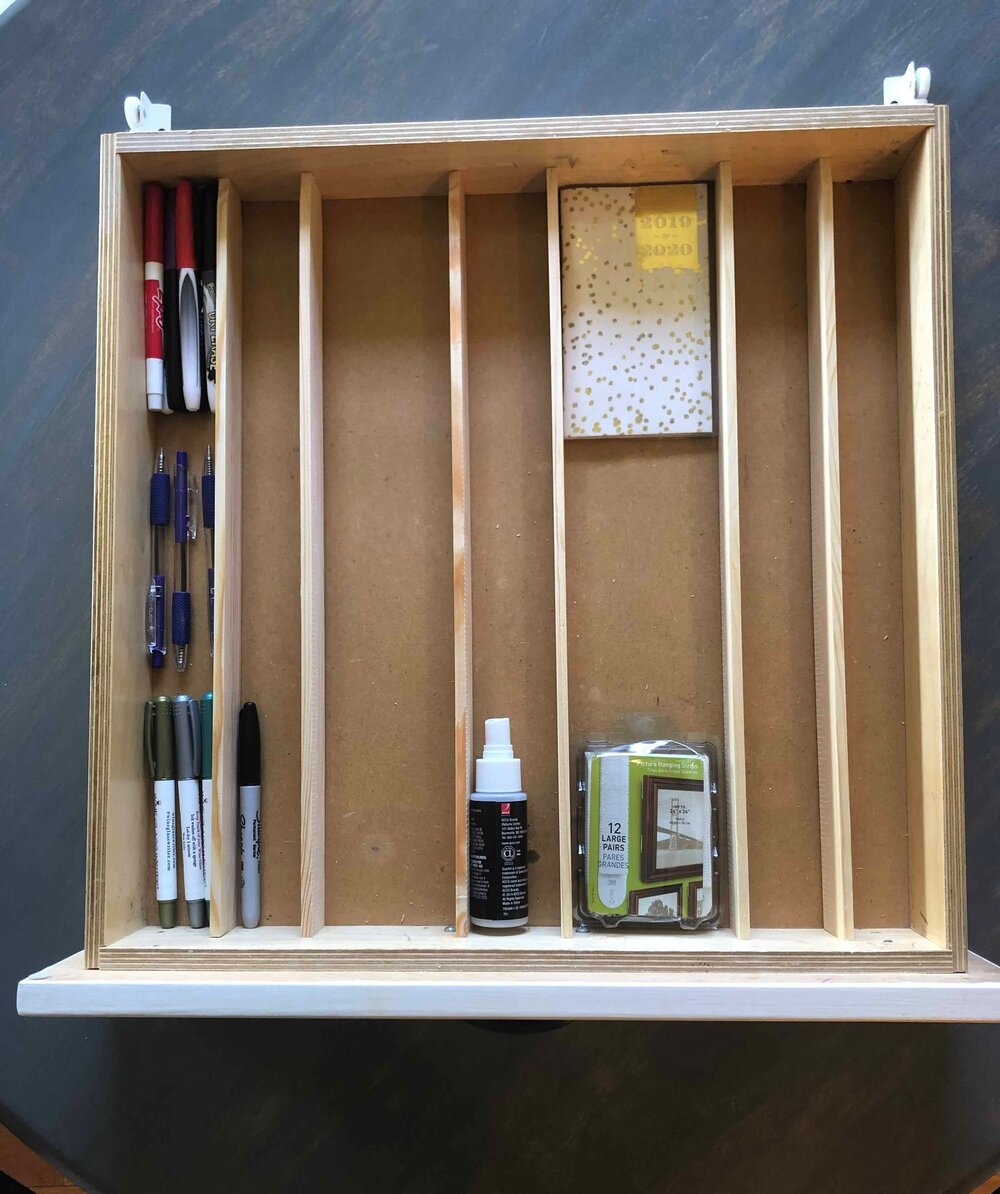
First, make sure each vertical divider fits snugly into the drawer to form a solid structure. To accomplish this I cut each piece a little long with a miter saw and then slowly shaved off a bit at a time until I had a perfect fit.
Next, figure out the dimensions of each section. I found it helpful to place items in the drawer as I was partitioning it off so I could make sure everything would fit.
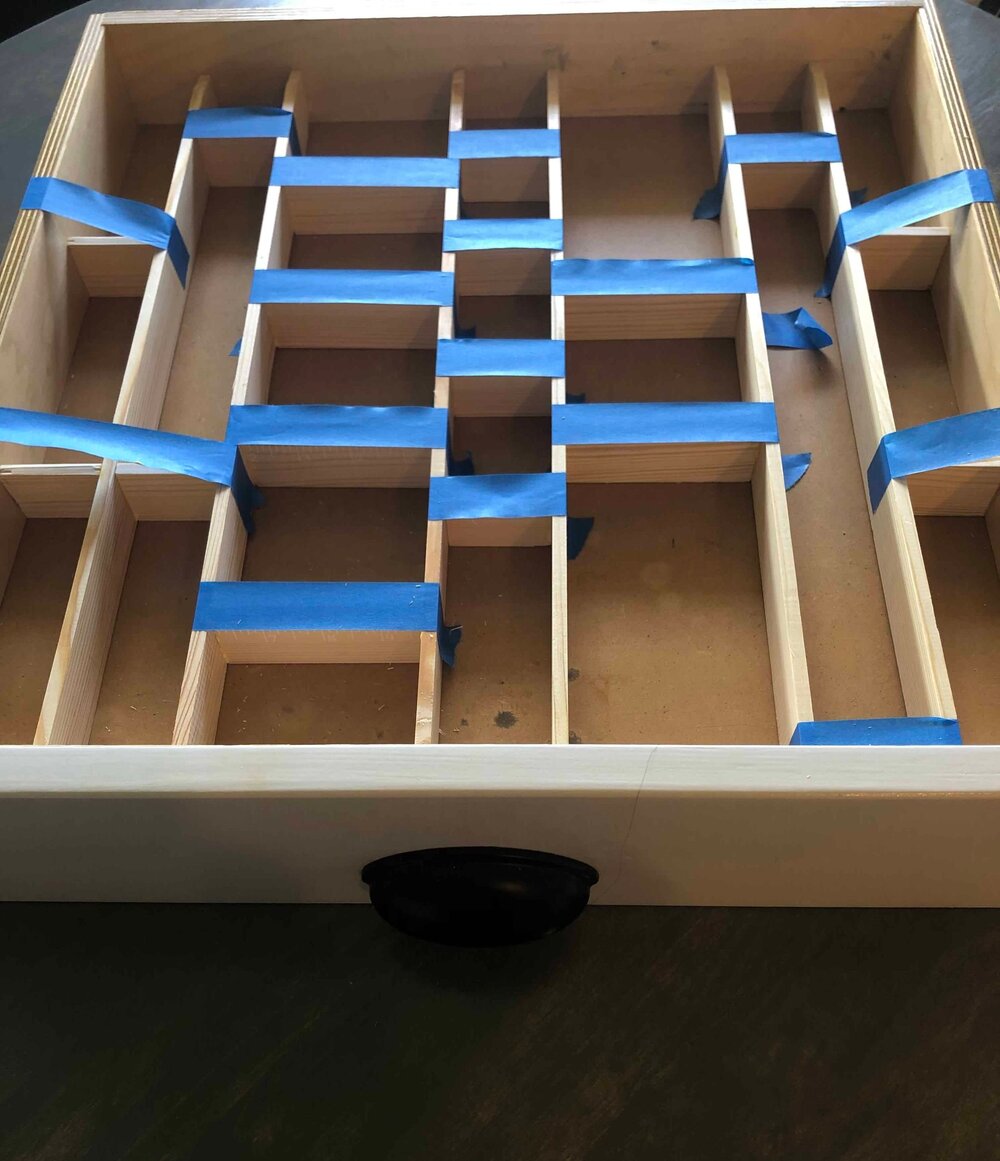
Finally, once you have the vertical dividers in the appropriate place then it’s time to add the horizontal dividers. I used wood glue to secure the horizontal pieces into place and then I used tape, instead of clamps, to form a tight bond.
I didn’t glue the vertical dividers to the drawer itself so it would be easy to remove in the future, if needed.
I also didn’t worry too much about about making sure everything was perfectly level or symmetrical, I just eye-balled it.
This is a junk drawer after all.
For those of you that need everything lined up perfectly, I would recommend using a level.
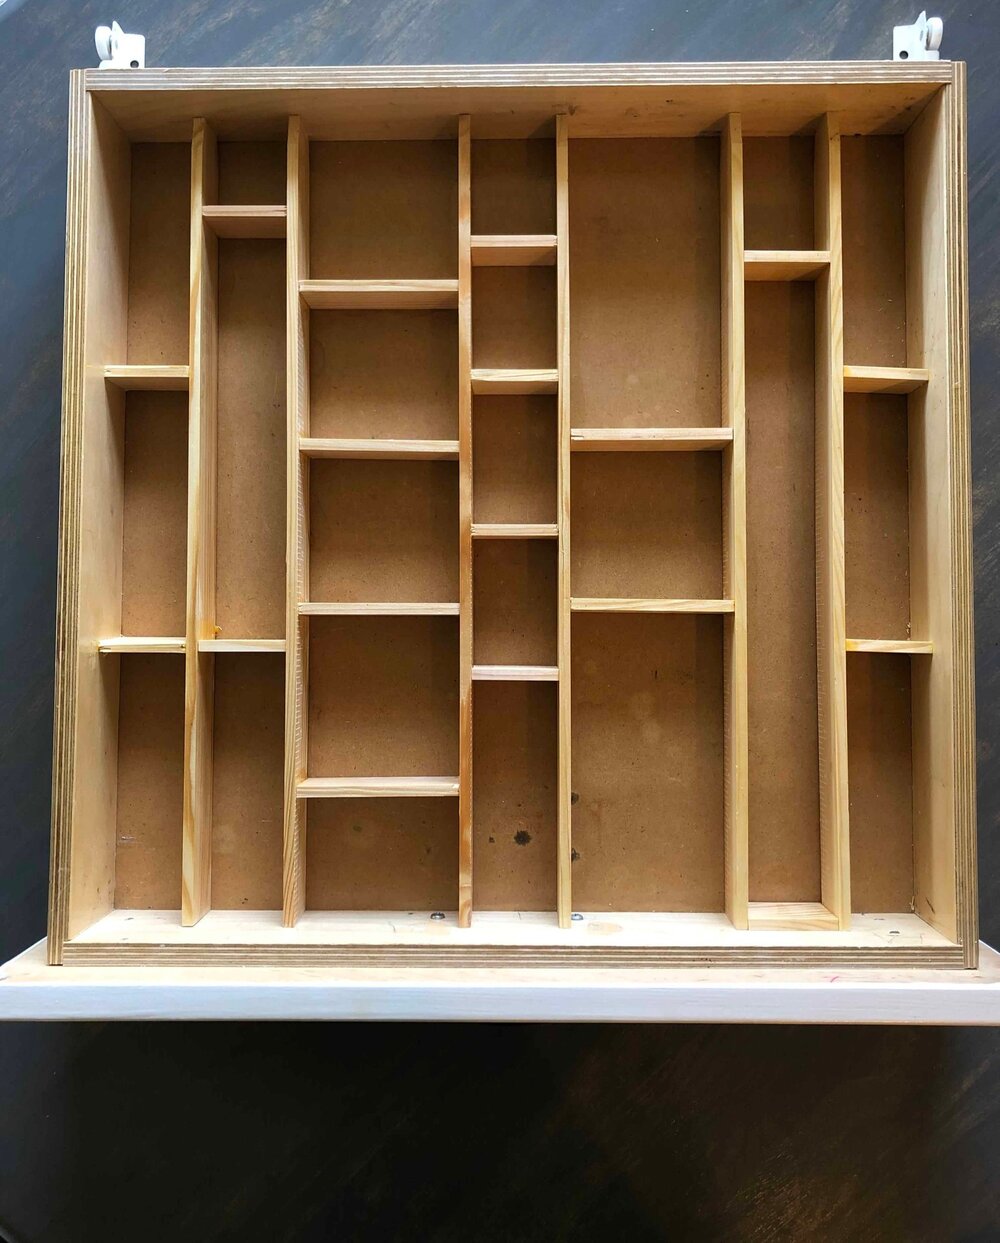
For just $3, a little wood glue, and a little time, I created a perfectly customized drawer organizer to make my junk drawer a little less junky.
Now I have a place for everything and everything in it’s place.
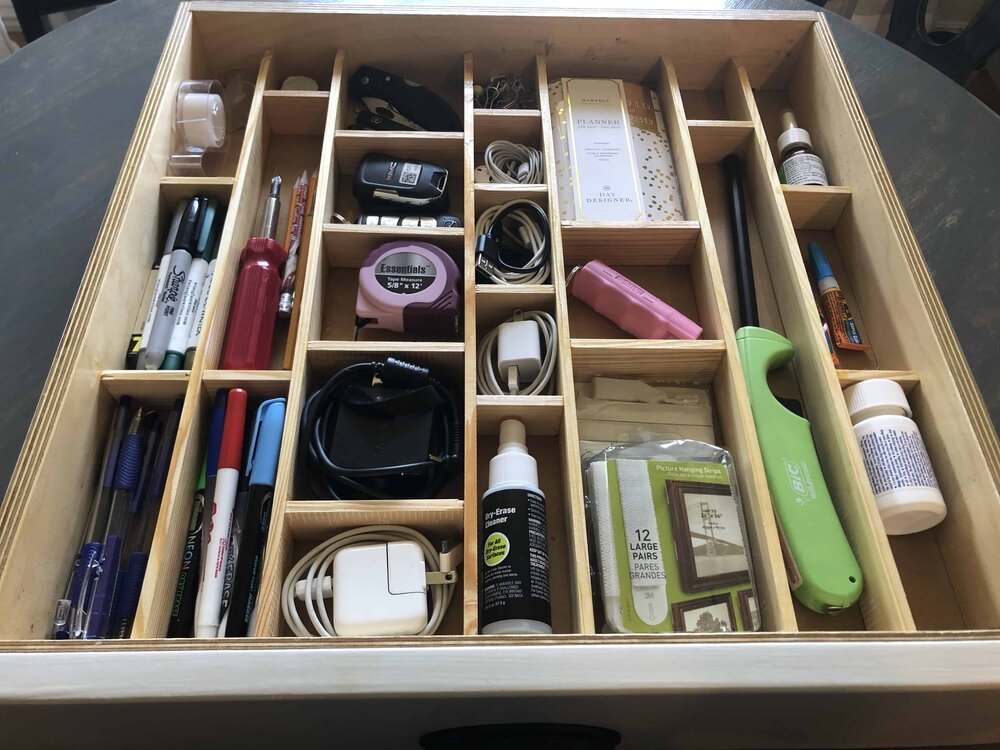
Now, the question is will it stay this way???
Let me know what you guys think!


Leave a Reply