Learn the benefits of making home DIY plant markers for your garden and how the color of the markers can actually deter unwanted pests.
DIY plant markers are an easy way to organize your garden and even have an added benefit you may not have thought of…pest control.
Spring has arrived and the time has come to begin the planting process.
Hallelujah!

I get so excited this time of the year and can’t wait to get my hands in the dirt. In Missouri, we are subject to late frosts so I try my best to wait until after Mother’s Day to plant.
Notice how I said “try”?
I usually get excited and jump the gun, put a few plants in the ground early, and then scramble to get them covered when the inevitable frost hits.
This year is no different. Here we are on Mother’s Day, I have several plants in the ground, and we have a freeze advisory issued for tonight.
Sigh.
Gardening requires a certain level of organization. Especially when starting the plants from seed. Those little guys need to be marked carefully or you’ll be playing the guessing game.
I have tried a variety of DIY plant markers over the years and didn’t find one I liked until two years ago.
Common problems I found with store bought plant markers were:
-
they weren’t very cute.
-
if they were cute, then they were pricey.
-
they weren’t durable and broke easily.
-
the markings came off easily.
-
they were so light weight they flew away in the first heavy wind.
-
they didn’t stay in place and frequently fell over.
You can see the problems were plentiful.
The solution however was surprisingly simple and cost me $0 as I already had everything I needed on hand.
DIY Plant markers using painted rocks
For this project you will need:
-
rocks
-
paint (I used acrylic)
-
paint brush
-
sharpie marker
-
paper plate

Begin by picking out the rocks.
I have a lot of rocks in my landscaping so I had no problem finding some that had a smooth surface that would be easy to paint and write on.
A disposable paper plate and a foam brush were used for easy clean up.
Using color in your garden to deter or attract pests
The hardest part of the whole project was making the color choice.
So, you may ask do the colors you use in your garden actually matter?
Well, you just might be surprised.
Bugs are naturally attracted to bright colors like orange, yellow, and white. It’s no coincidence that is why a lot of insect traps are yellow.
Birds love strawberries and cherries so they are naturally attracted to things that are red. For this reason, red may not be the best choice. Imagine a bunch of birds hopping around in your garden beds thinking they were going to get a tasty strawberry. I like birds, but not when they are trying to get my strawberries, cherries, or pecking at my plant markers.
There are some theories out there that using colors in the blue spectrum may actually deter pests. I don’t know how concrete this evidence is, but it makes sense so I went with it.
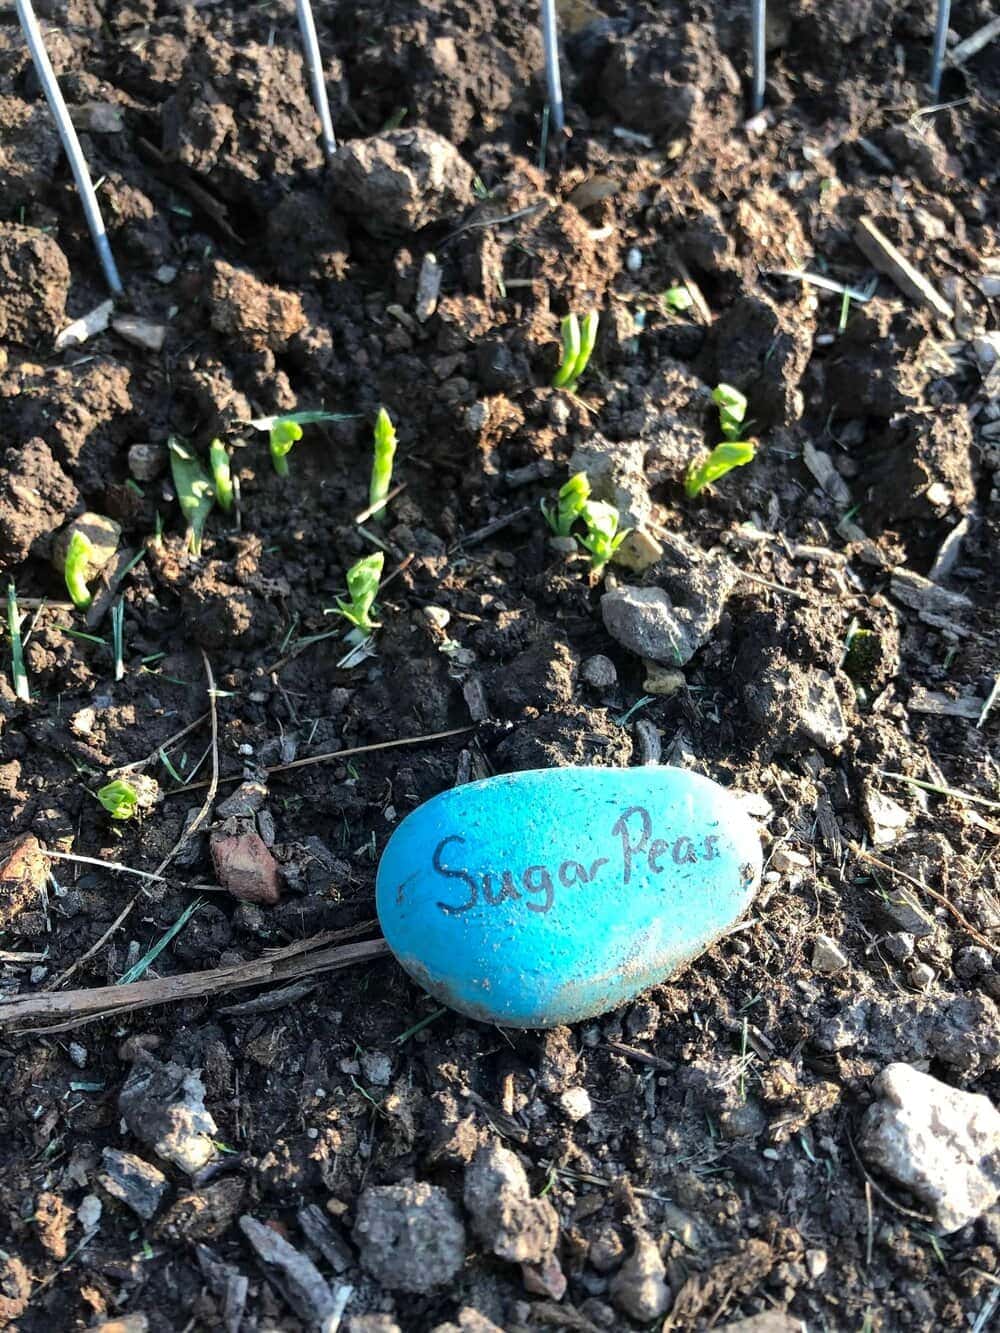
I ultimately decided on varying shades of teal as it’s one of my favorite colors and wouldn’t attract unwanted guests.
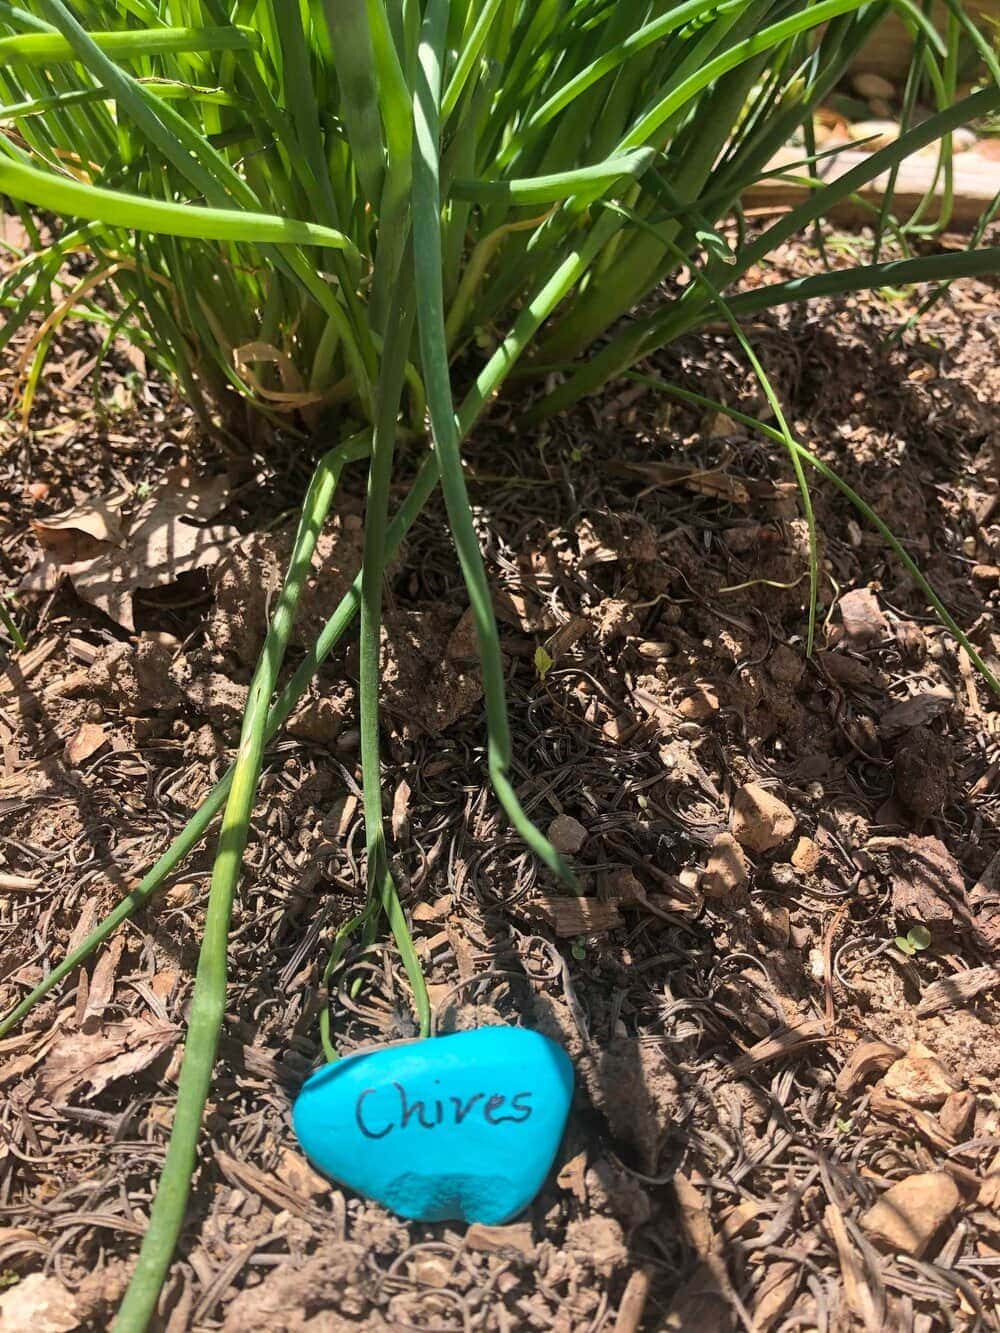
The teal was an especially good choice because it is a highly visible color in the blue spectrum making it easy to identify where you have planted all of your seeds. Or help you remember the variety of tomato plant you planted. See how easy these are to see in your garden beds?

A permanent black sharpie is the final touch to an easy and durable DIY plant marker that will last for years to come.
This particular plant marker is a few years old. The paint is a bit chipped and the markings are faded lightly, but overall it has held up very well.

So give it a try and I would love to see some pictures!!! Especially from all you crafty people out there that can show me how to add an additional level of cuteness to these cute little DIY plant markers.
Happy planting!

Looking for additional gardening ideas? Check out my post on The Edible Fig Tree to see why it’s my favorite fruit tree to grow.


Ron says
Looks interesting